
Looking for an engaging and educational science activity to do with your students? This DIY Lava Lamp Experiment is perfect for the classroom. It’s a hands-on way to explore the principles of density, chemical reactions, and how liquids and gases interact. Plus, your students will love watching their colorful creations come to life. Here’s how you can guide them through this fun experiment.
Plus, click the button below to grab your free lava lamp experiment worksheet for your students.
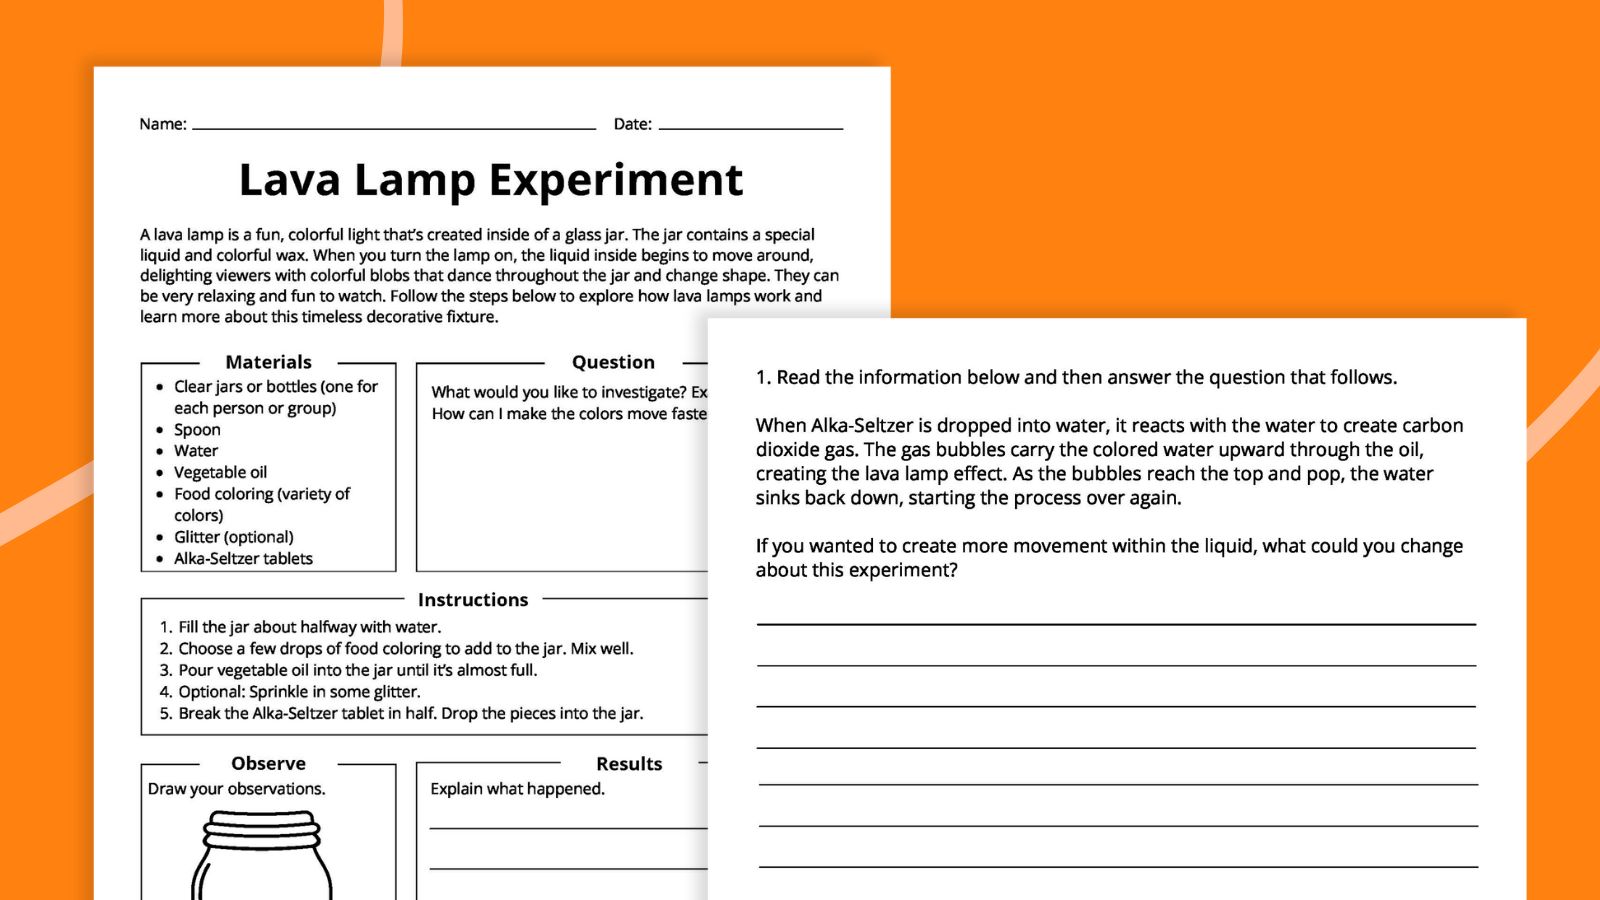
What does conducting a Lava Lamp Experiment teach?
This experiment is a great way to introduce or reinforce key scientific concepts. Discuss with your students how the different densities of the liquids cause the layering effect. Explain the chemical reaction that occurs when the Alka-Seltzer tablet meets the water, producing carbon dioxide gas that creates the bubbling effect. This is a wonderful example of a real-world chemical reaction that’s easy to observe and understand.
Is there a DIY Lava Lamp video?
Watch this video to get step-by-step instructions in a follow-along format.
Materials needed:
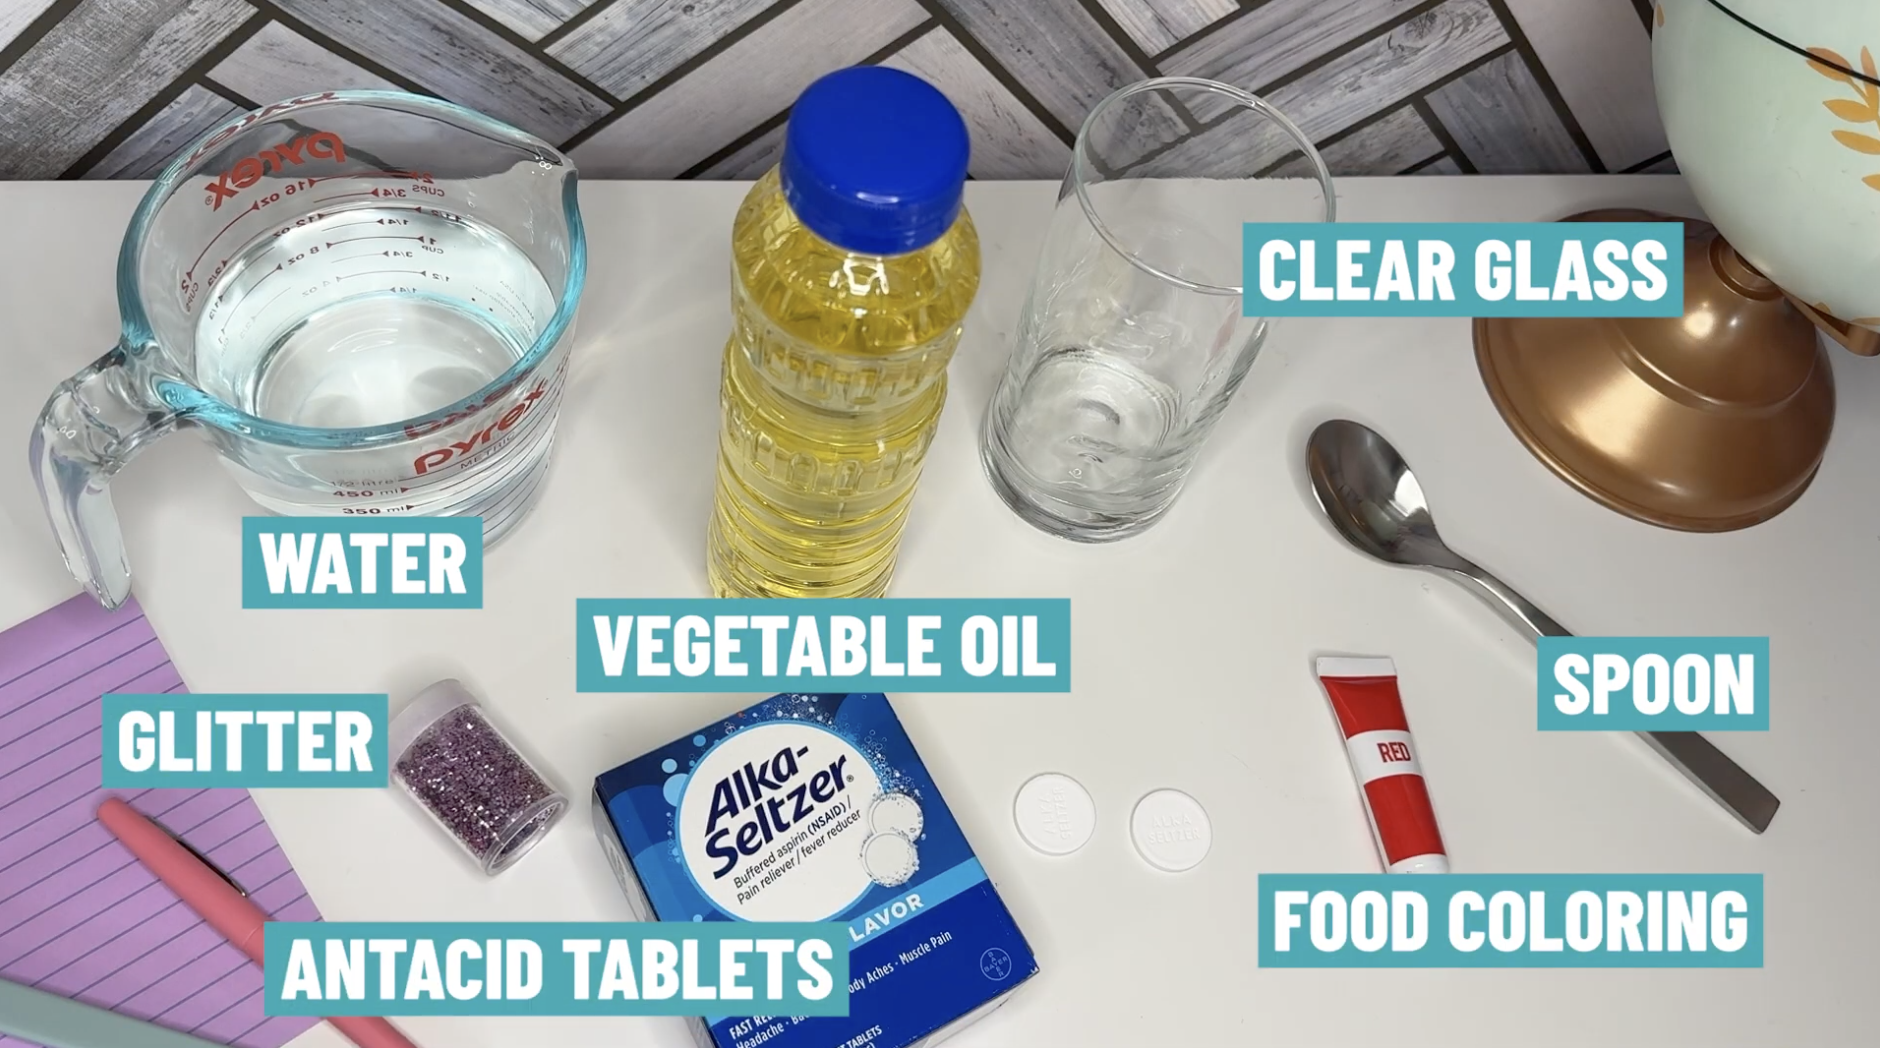
- Clear jars or bottles (one for each student or group)
- Spoon
- Water
- Vegetable oil
- Food coloring (variety of colors)
- Glitter (optional, but adds a fun visual element)
- Alka-Seltzer tablets
DIY Lava Lamp steps:
1. Setting up the experiment
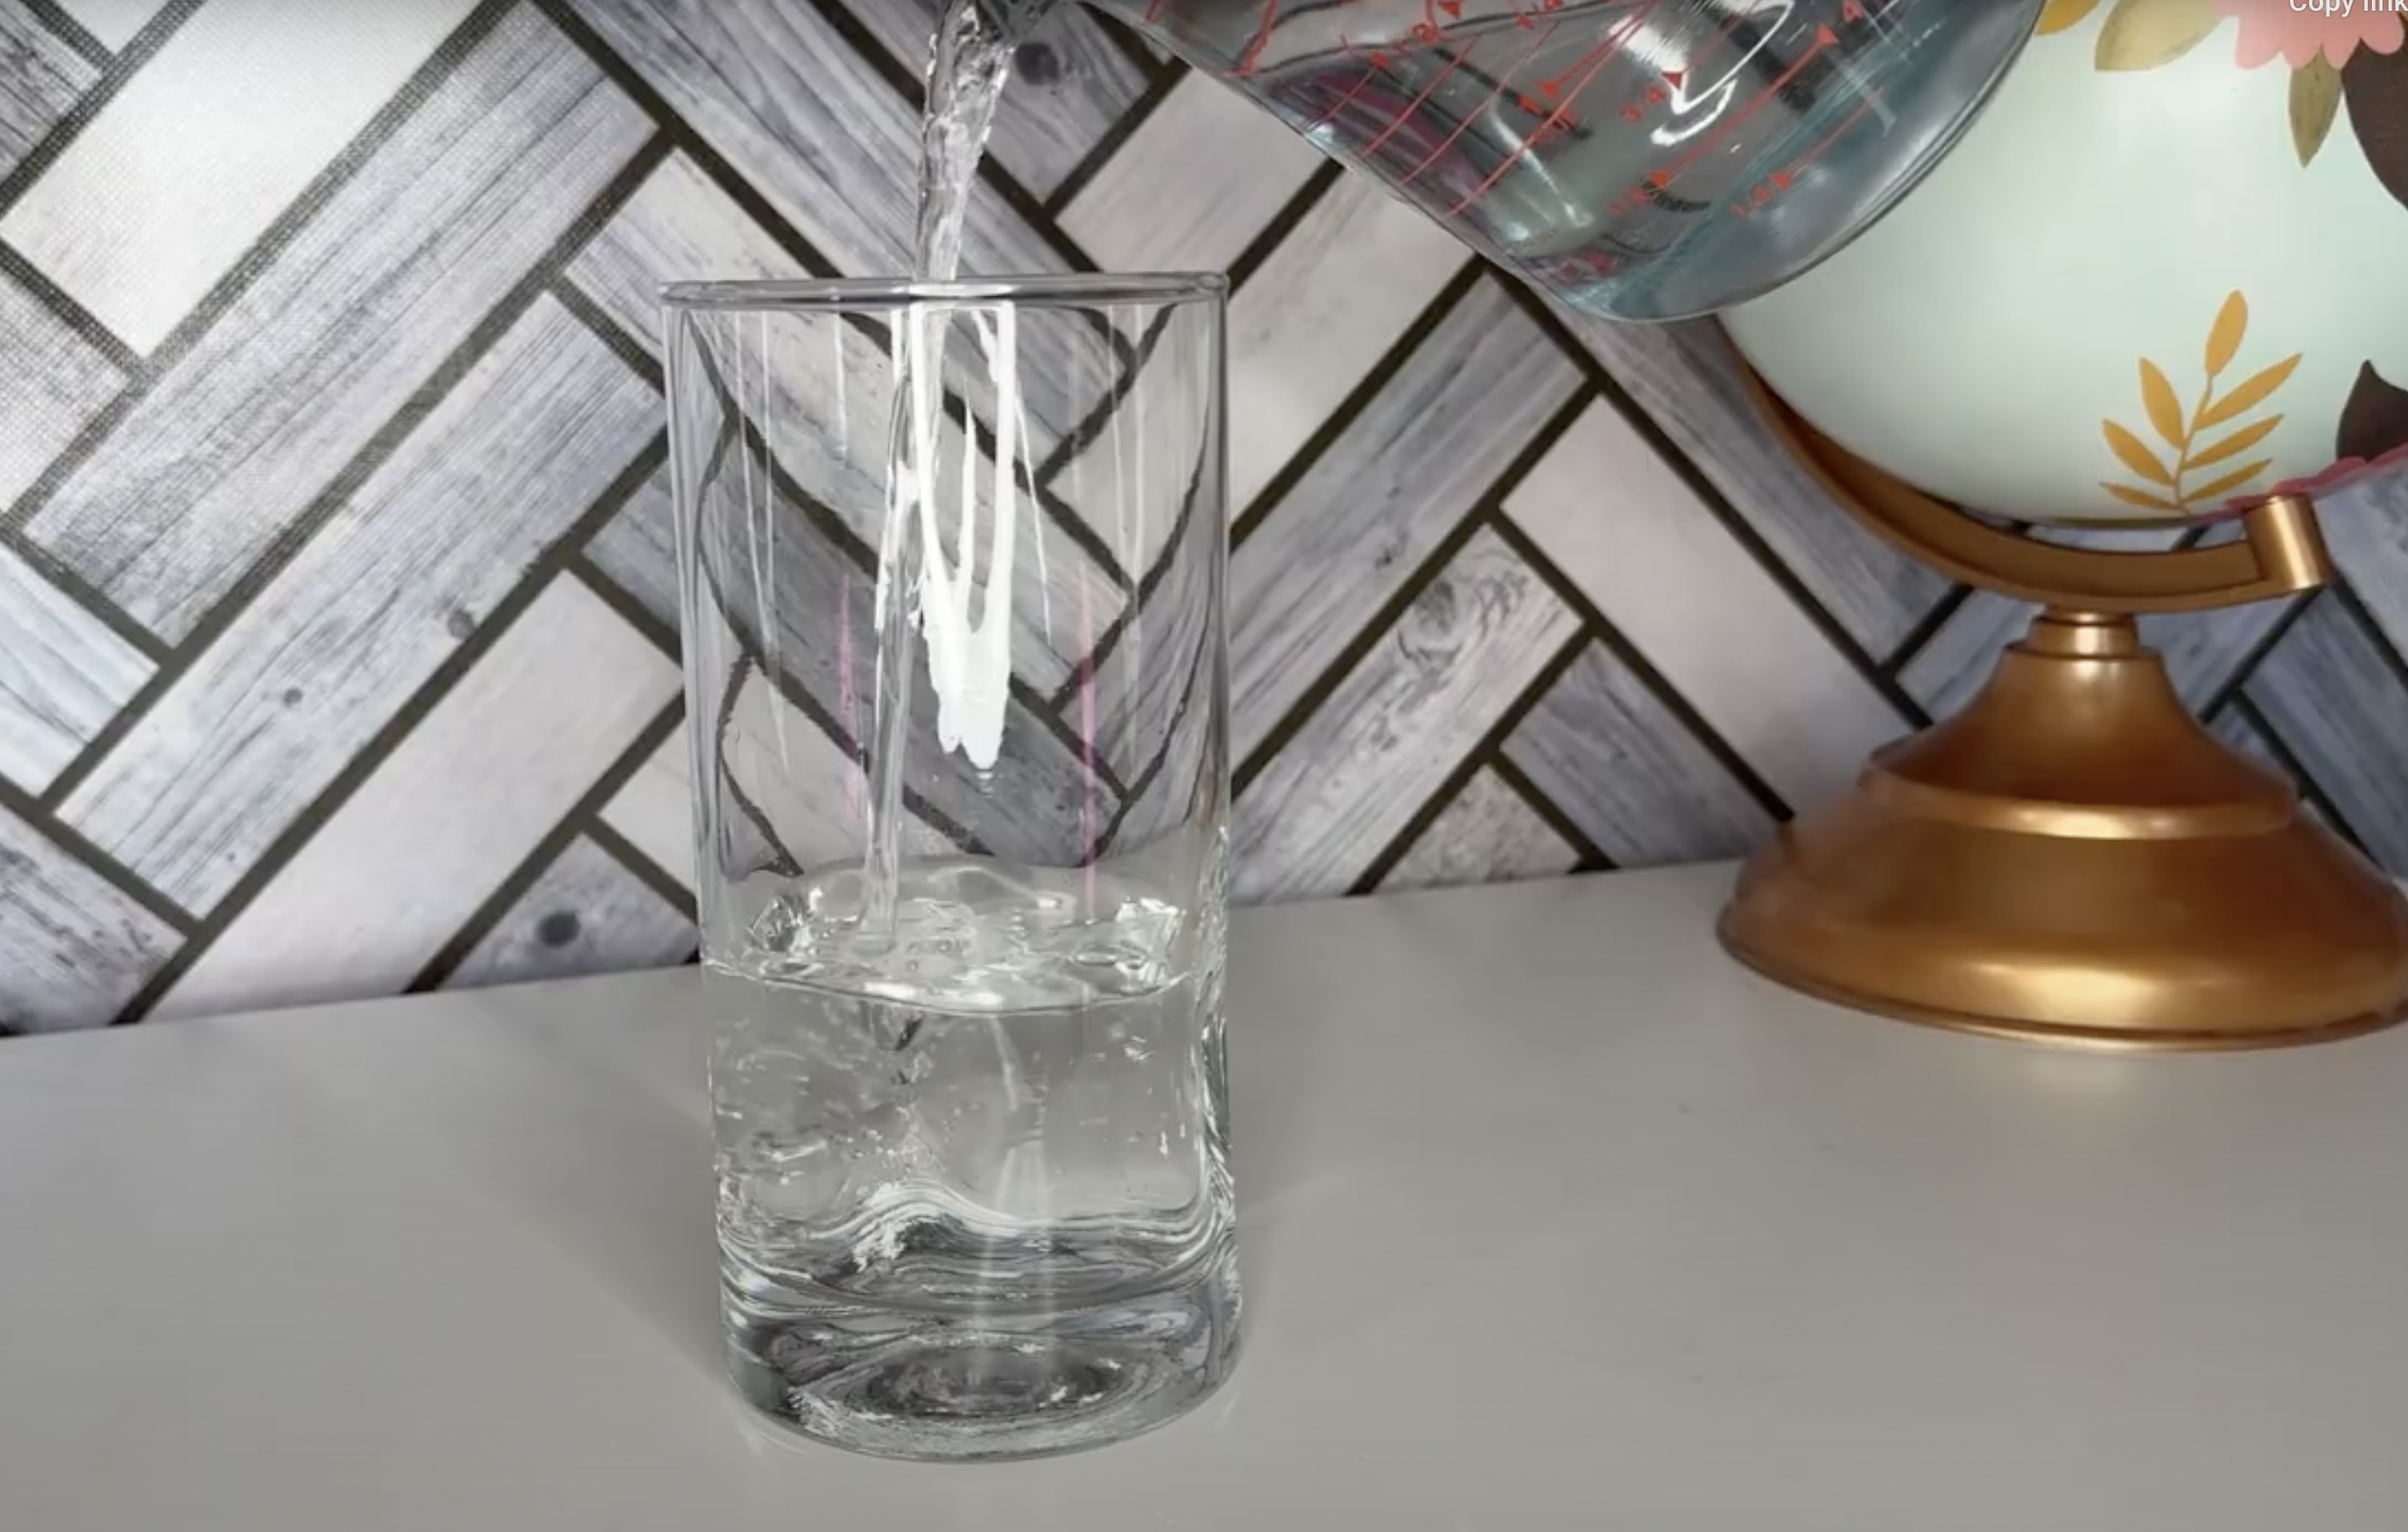
Start by distributing the materials to each student or group. Have them fill their jars about halfway with water. This will serve as the base for their lava lamps.
2. Introducing color
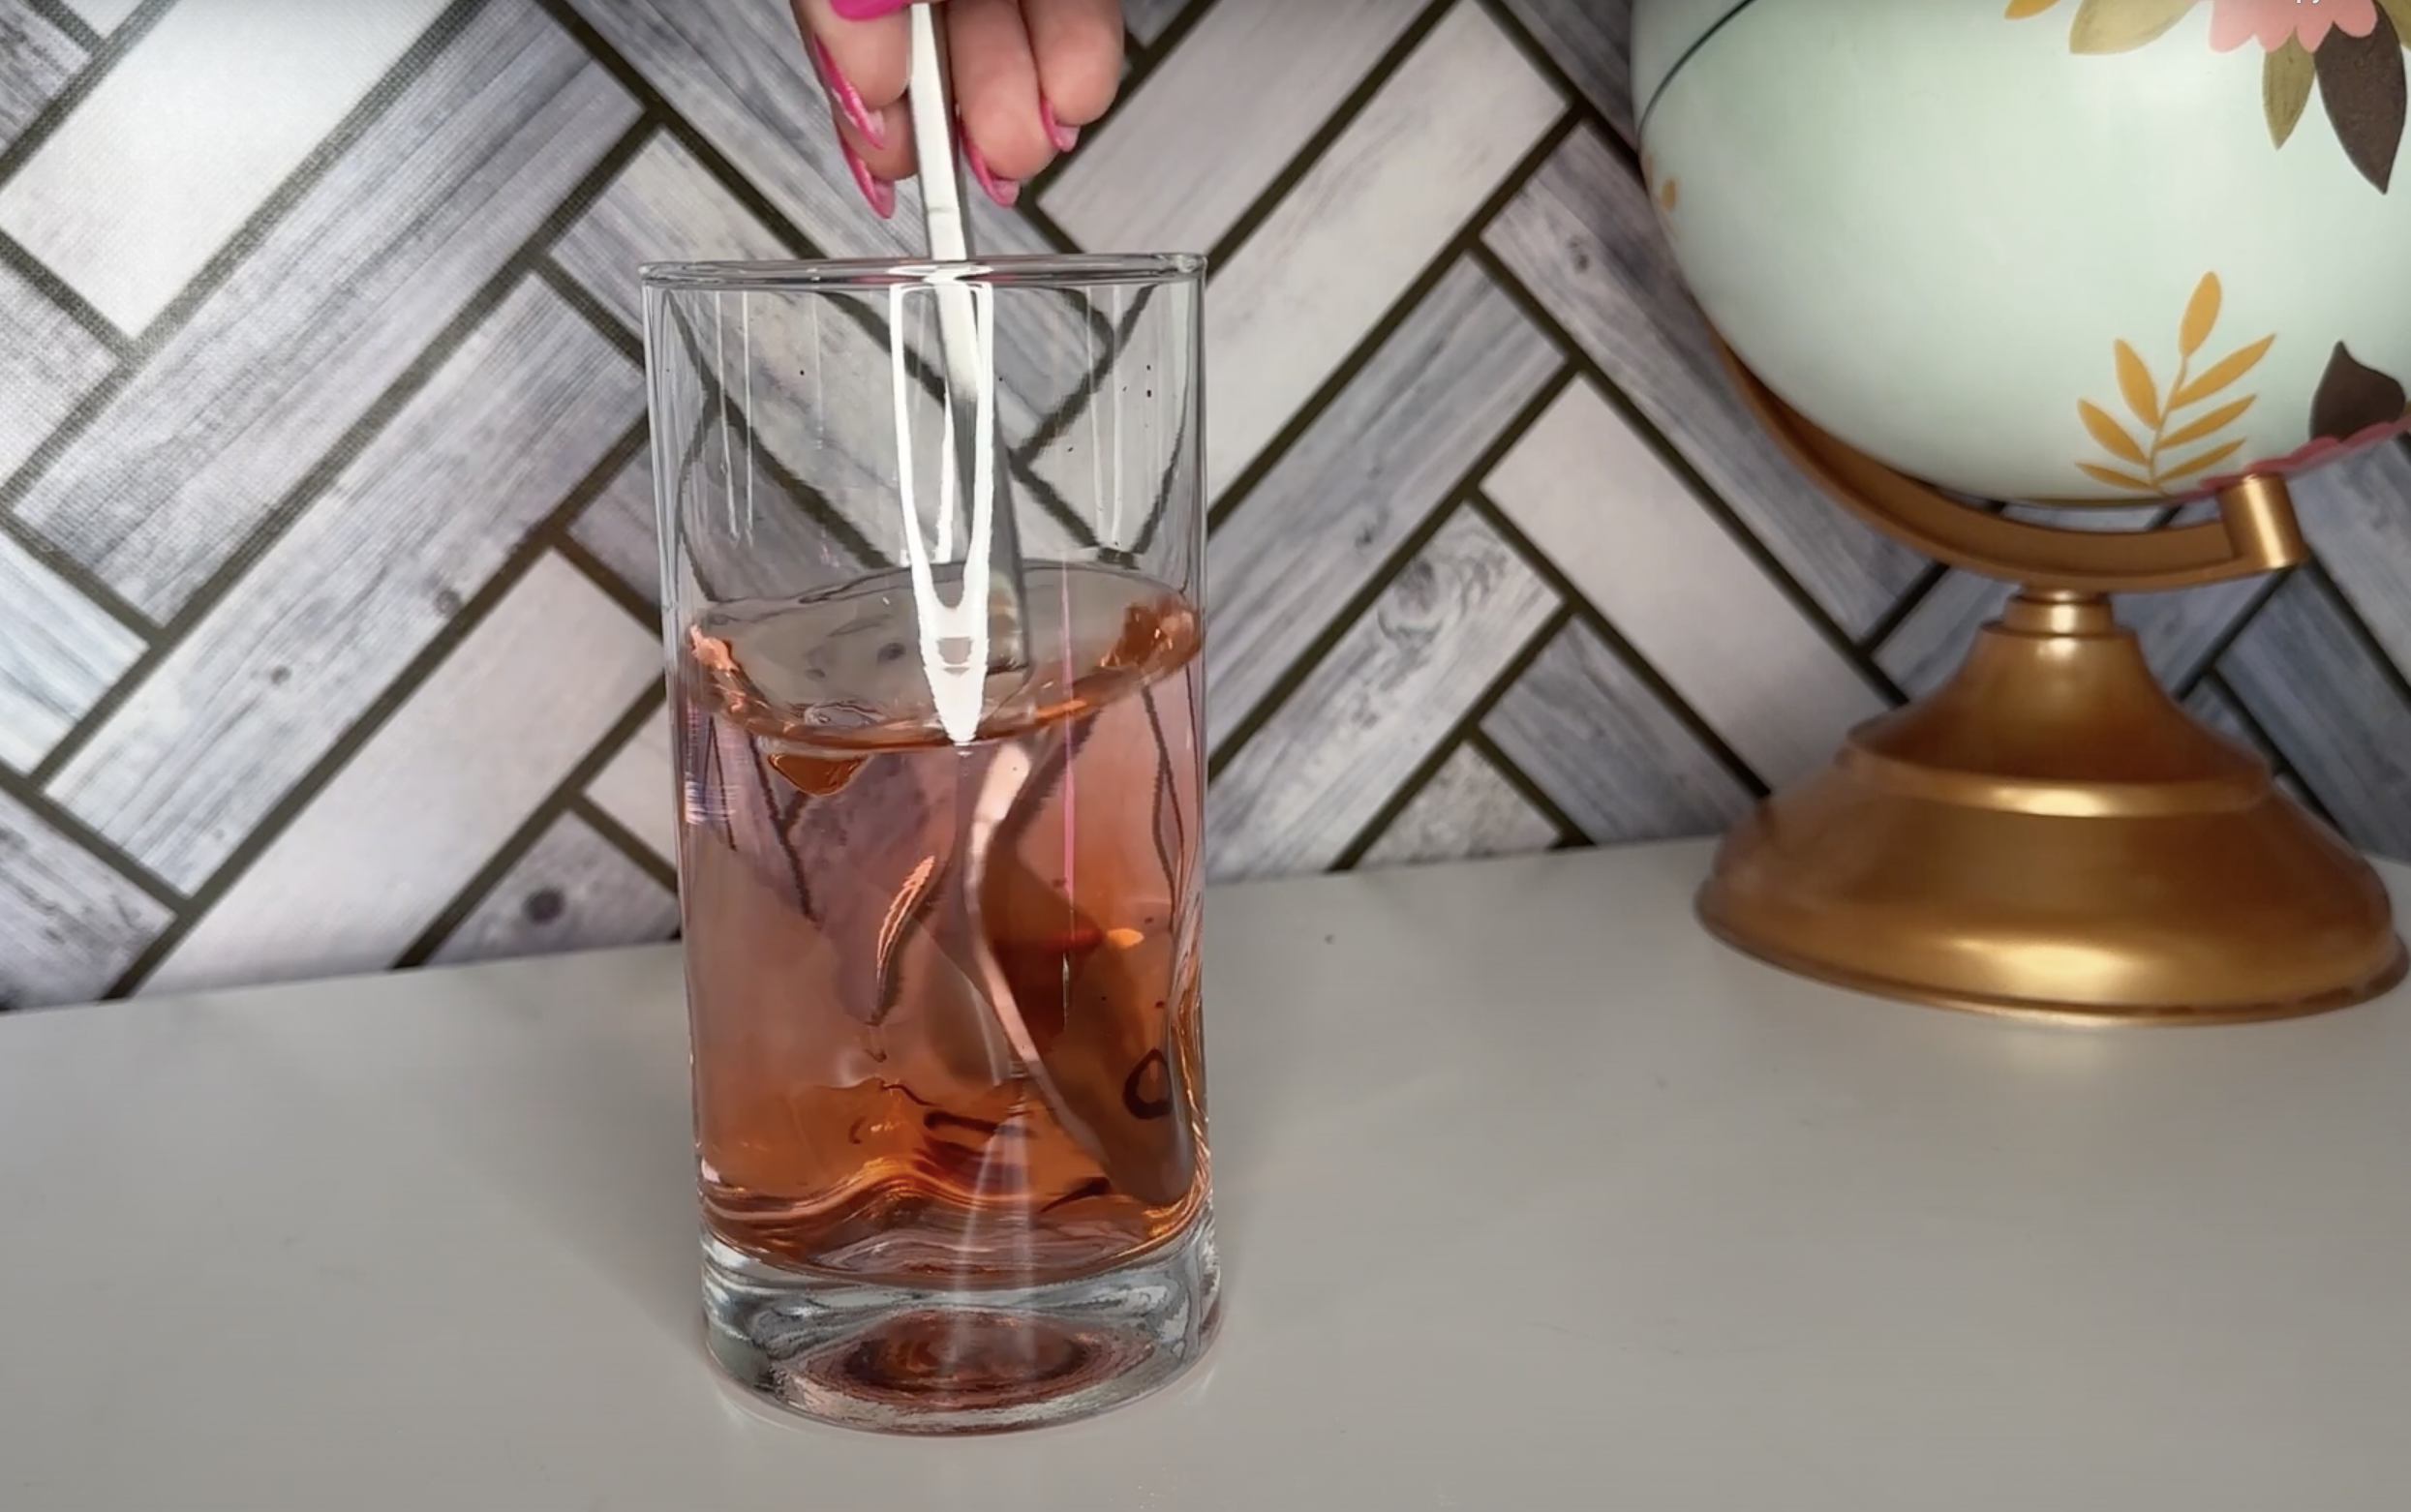
Now it’s time to add some color. Have students choose a few drops of food coloring to add to their jars. Mix well.
3. Adding the oil
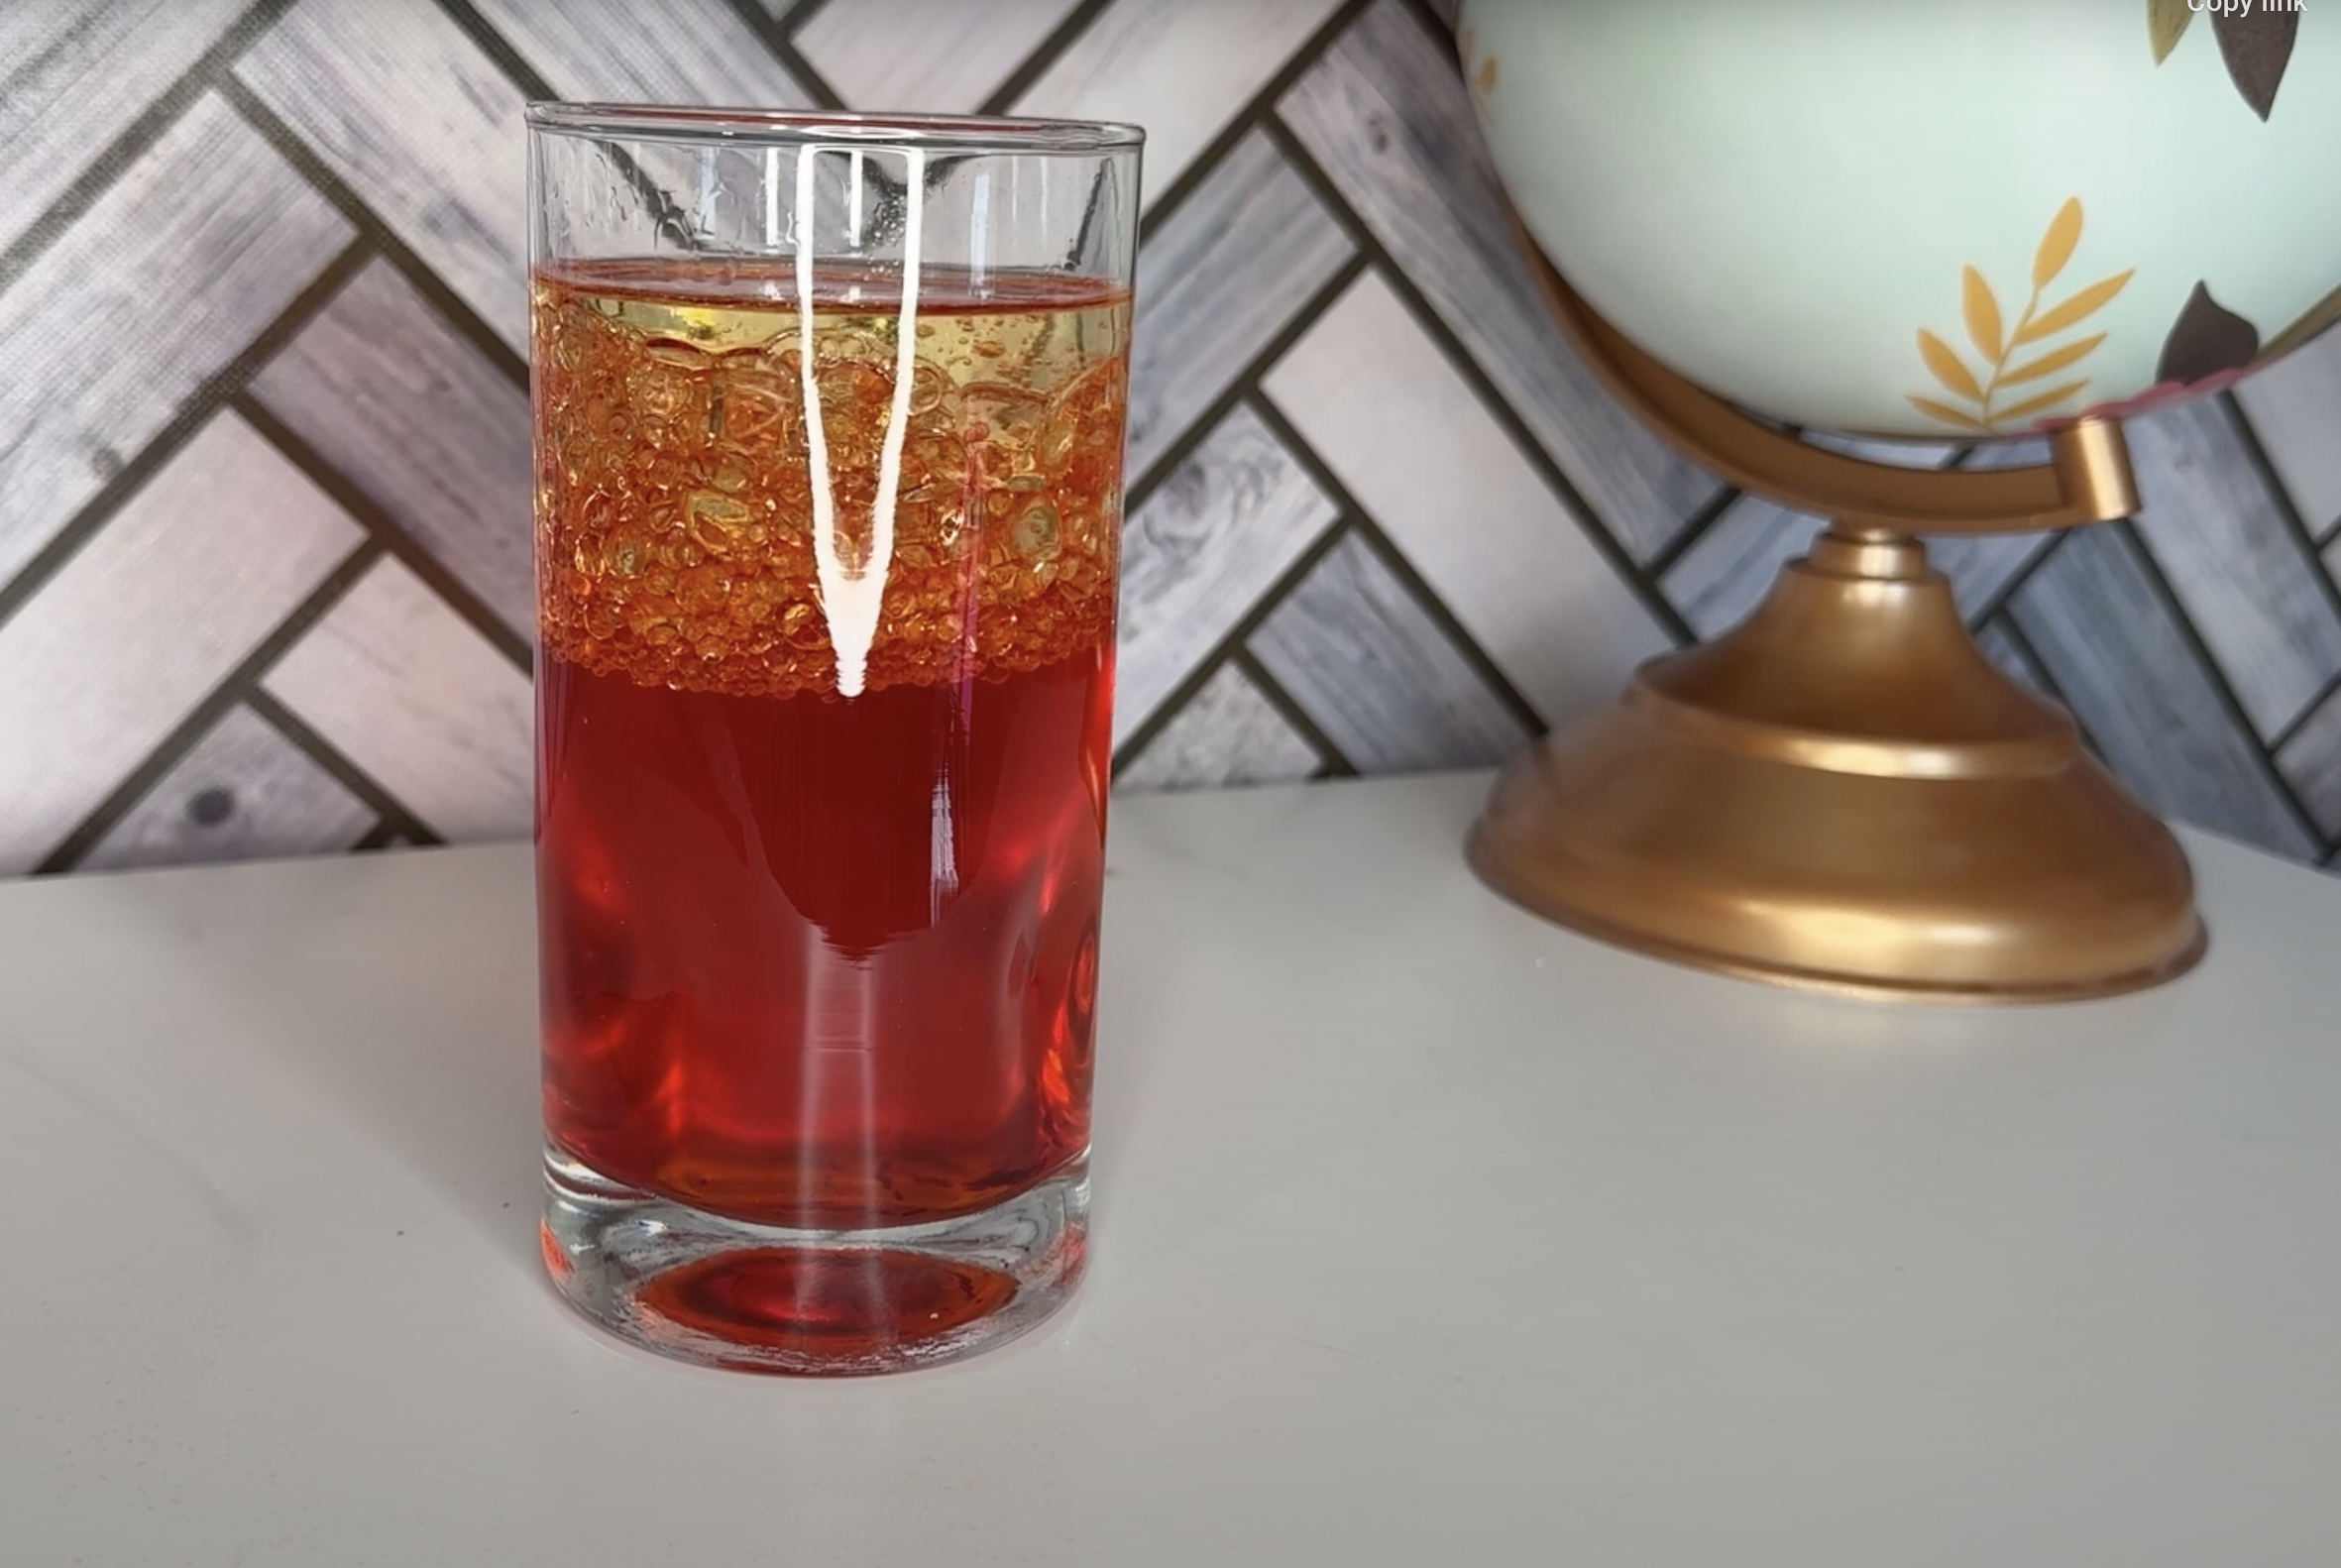
Next, instruct students to pour vegetable oil into their jars until they’re almost full. This is a great opportunity to discuss density with your class. Ask them to observe how the oil floats on top of the water. Explain that this occurs because oil is less dense (lighter) than water, so it naturally stays on top.
4. Adding some sparkle (optional)
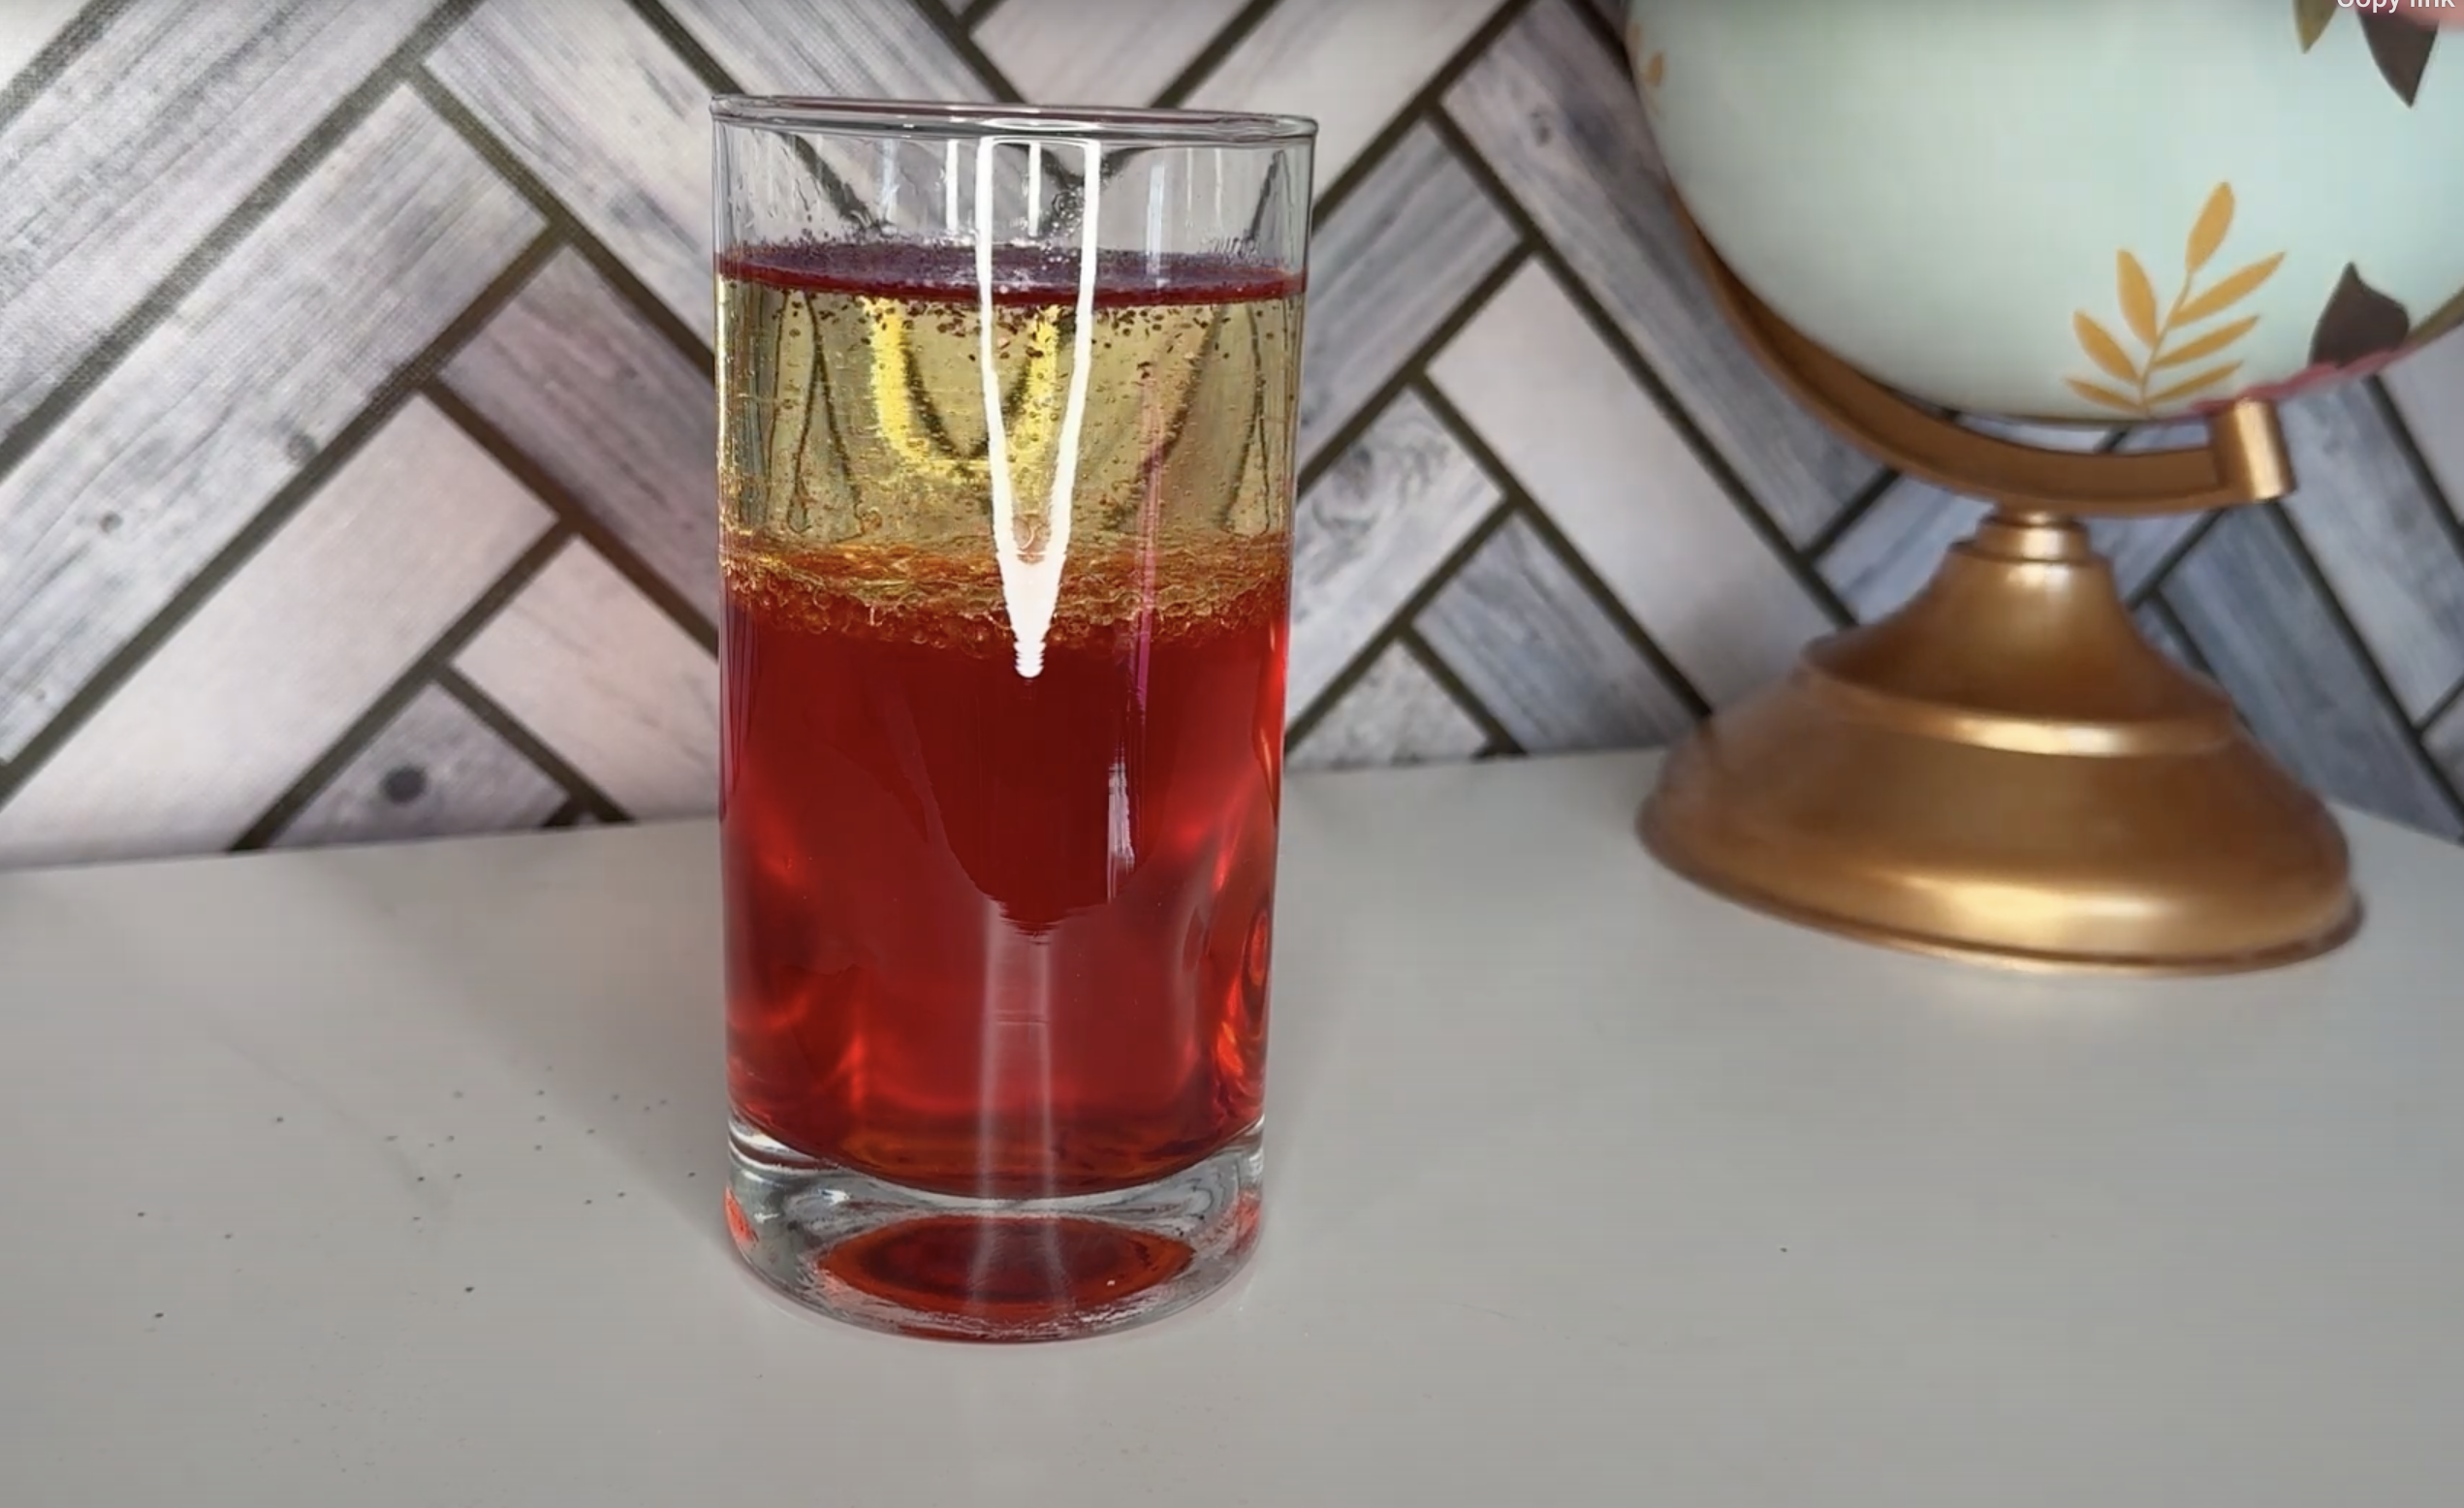
If you want to add an extra element of fun, let your students sprinkle in some glitter. The glitter will float within the oil, adding a visual sparkle that enhances the effect of the lava lamp. This can also be a good moment to talk about how solids can be suspended in liquids.
5. The chemical reaction
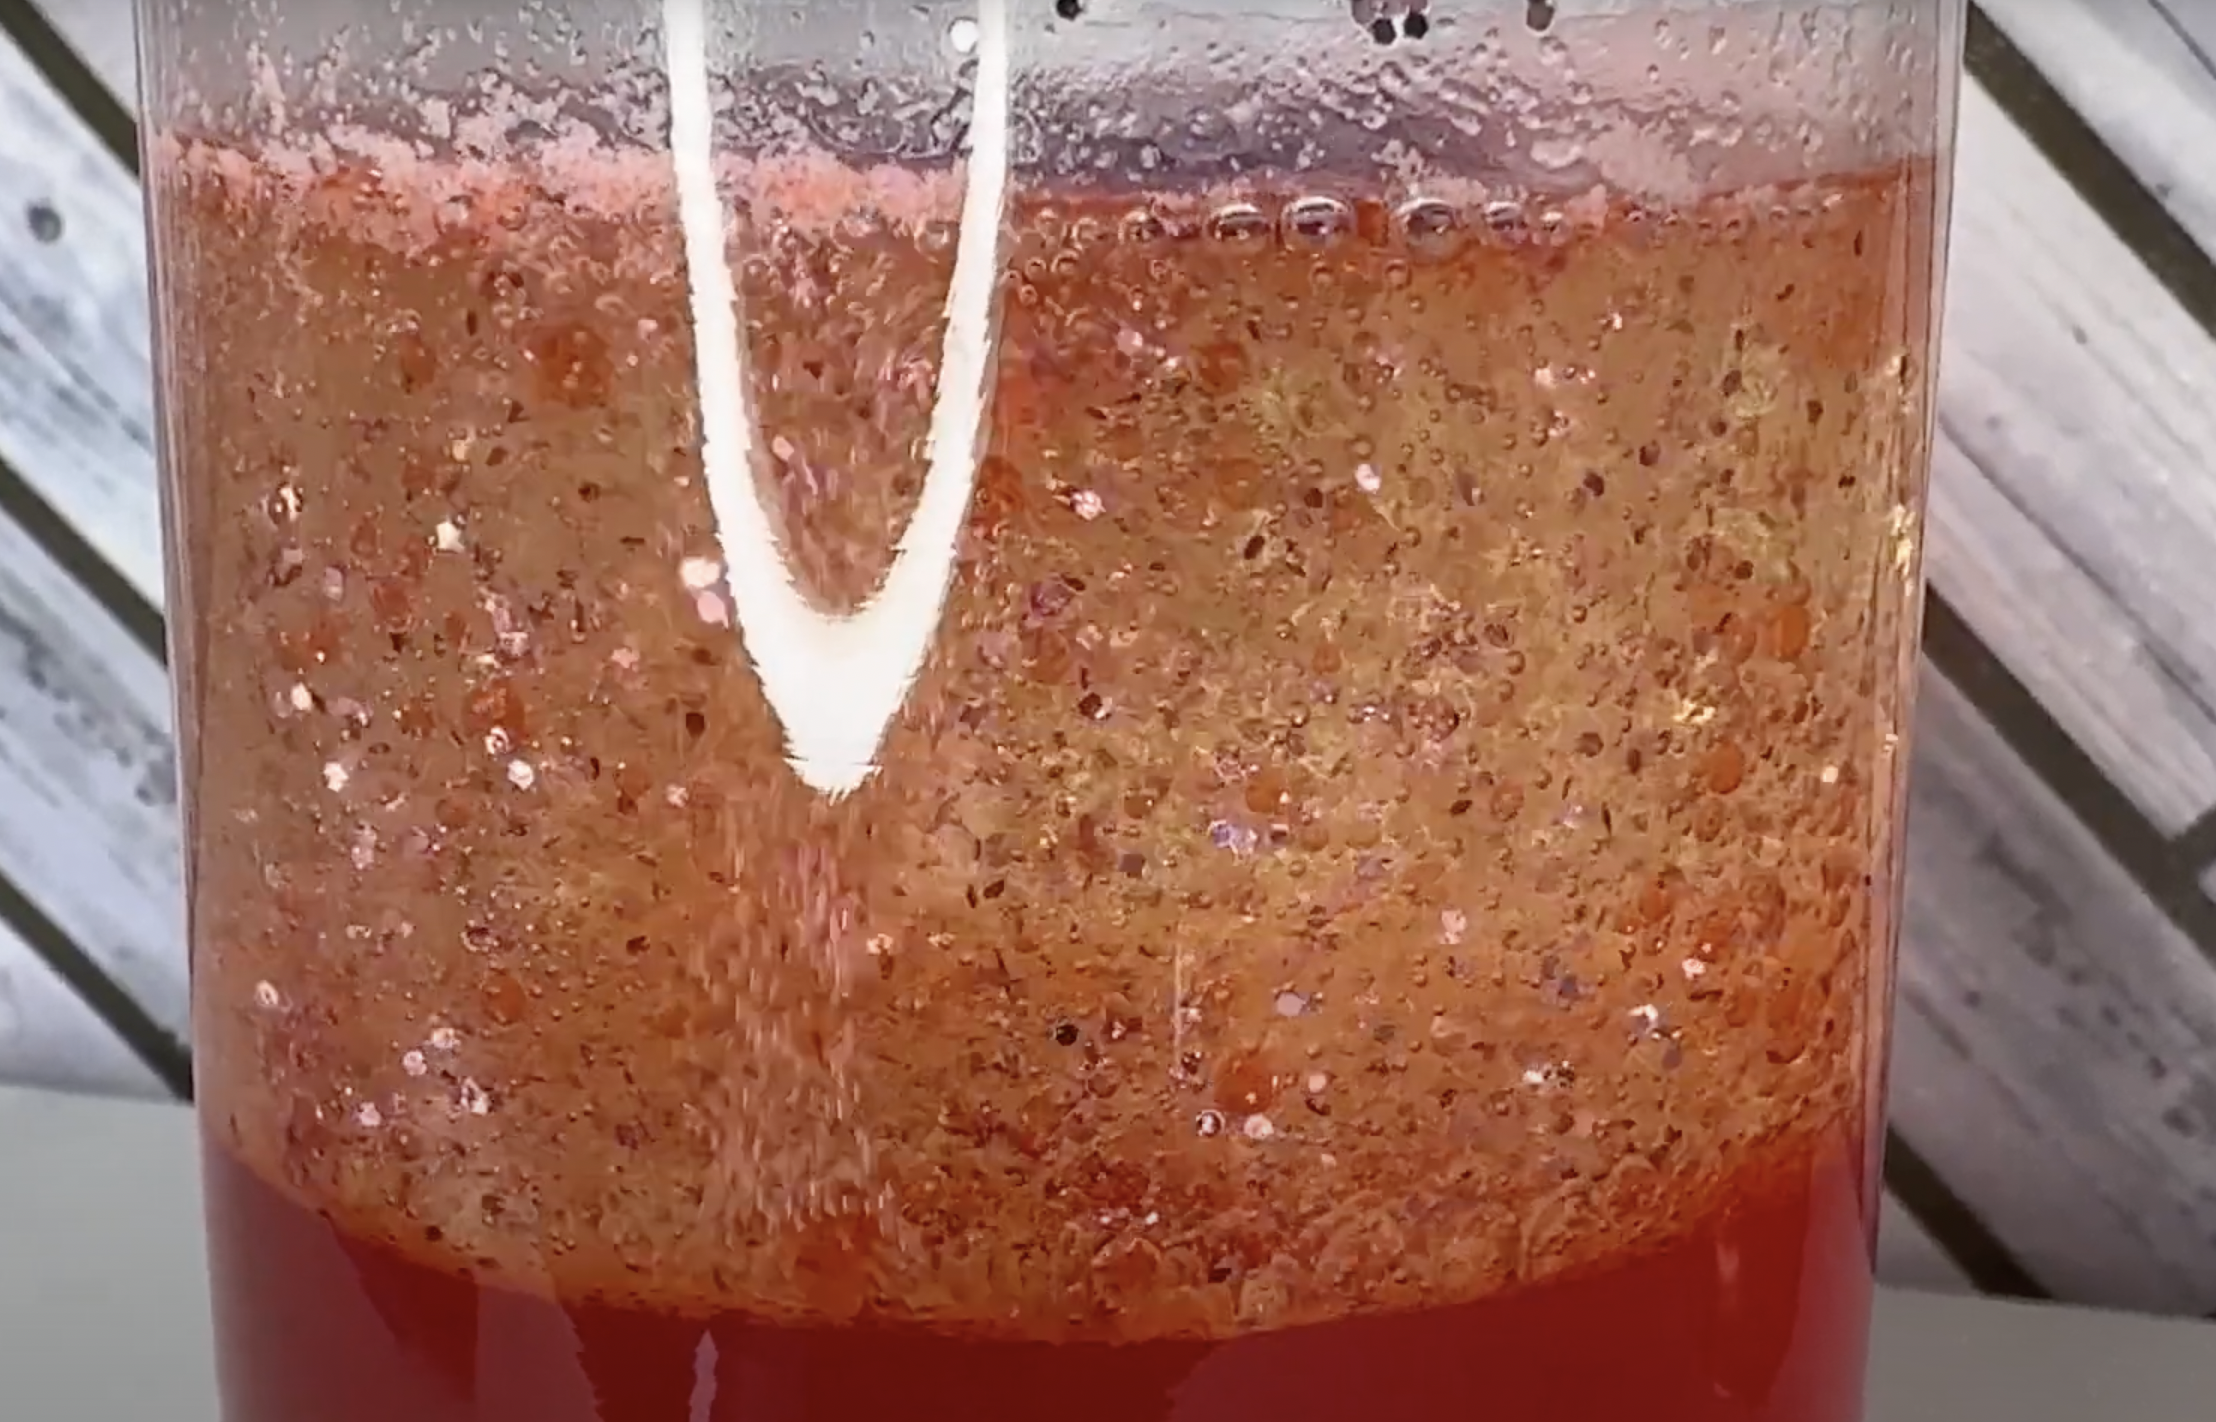
Finally, give each student or group an Alka-Seltzer tablet and have them break it in half. When they drop the tablet pieces into their jars, they’ll see the magic happen! The Alka-Seltzer reacts with the water to create carbon dioxide gas. These gas bubbles carry the colored water and glitter upward through the oil, creating the classic lava lamp effect. As the bubbles reach the top and pop, the water sinks back down, starting the process over again.
Conclusion
This DIY Lava Lamp Experiment is not only a fun and visually engaging activity, it’s also a great lesson on states of matter. Your students will see how density and chemical reactions happen in real time.
Whether you’re teaching younger students about basic science concepts or older students about more complex principles, this experiment is a versatile tool that can be adapted to various learning levels.
Get your free printable lava lamp experiment worksheet!

If you want to recreate our lava lamp experiment in your classroom, click the button below for a worksheet that walks students through every step and provides experiment questions to get them thinking.