How do you set up your new iPhone the fastest way possible? The iPhone setup process gets easier every year.
So easy, in fact, that there are only a few things you need to do to move from your old iPhone to a new one. The hot new tip this year is that you can directly transfer data from your old iPhone to your new one using a cable. If you’re an Android switcher, you can copy your data using the Move to iOS app.
Setting up a new iPhone from scratch isn’t much harder — you just have a few extra steps you need to go through.
There are still a few tricks that will help things run smoothly, though. Let’s see how to set up your new iPhone the right way.
How to set up a new iPhone: Getting started
Your iPhone will probably come with enough battery charge to get started out of the box if you’re buying new. Turn it on by holding the power button on the right side.

Image: Apple
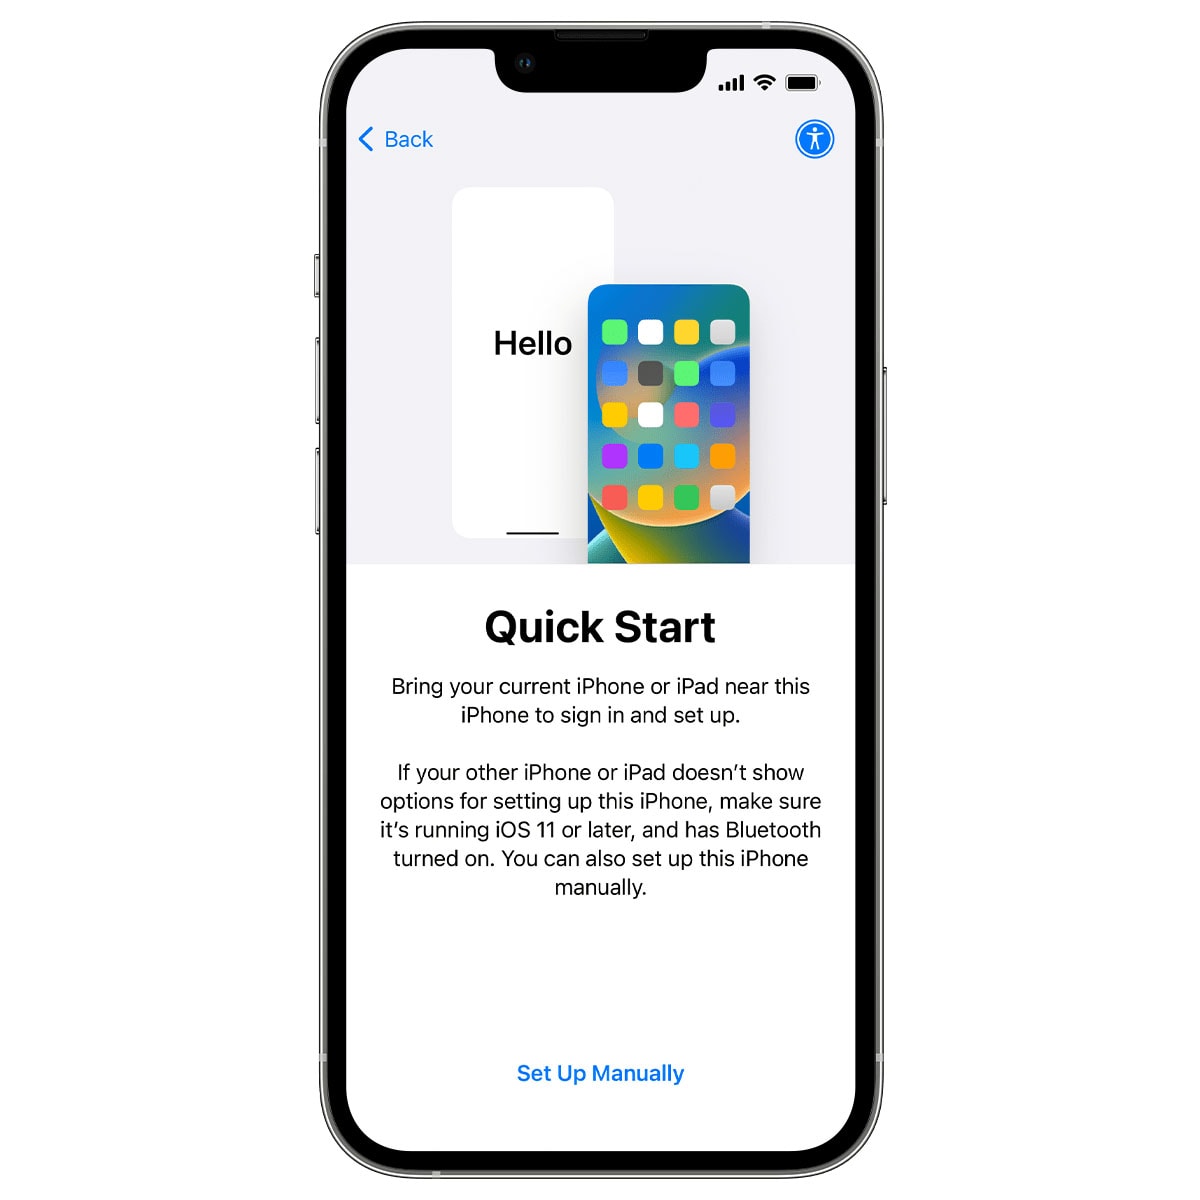
If you’re transferring from an Android phone, tap Set Up Manually and continue.
If you’re transferring from another iPhone, hold both devices next to each other to get signed in and set up. They should automatically detect each other. (If not, make sure your old device is connected to the same Wi-Fi network with Bluetooth turned on.) This is the way we recommend you do it. It’s easy, and fairly fast and painless.
If your old device is an Android phone, on the “Transfer Your Apps & Data” screen, tap From Android. You’ll have to download the Move to iOS app on your old device. This app will guide you through the process of moving contacts, photos and more to your iPhone.
Activate your iPhone
Now your iPhone will try to activate your cellular plan. If you have a compatible cell carrier, I recommend following on-screen instructions to transfer as an eSIM, so you don’t need to fiddle around with paper clips moving the physical SIM card over. (In the United States, you won’t have a choice: iPhones sold in the United States use eSIM exclusively and no longer come with SIM card slots. eSIM is the way of the future. They are easy to manage, and you will never need to worry about thieves taking your SIM card out of a stolen phone.)
If you live in a country (or use a cell carrier) that doesn’t support eSIM, you can use the tool included in your iPhone box to move the SIM card to your new phone.
Either way, your new iPhone will try to activate your phone plan. If you have problems with this step, you’ll need to contact your carrier.
Set up Face ID on your new iPhone
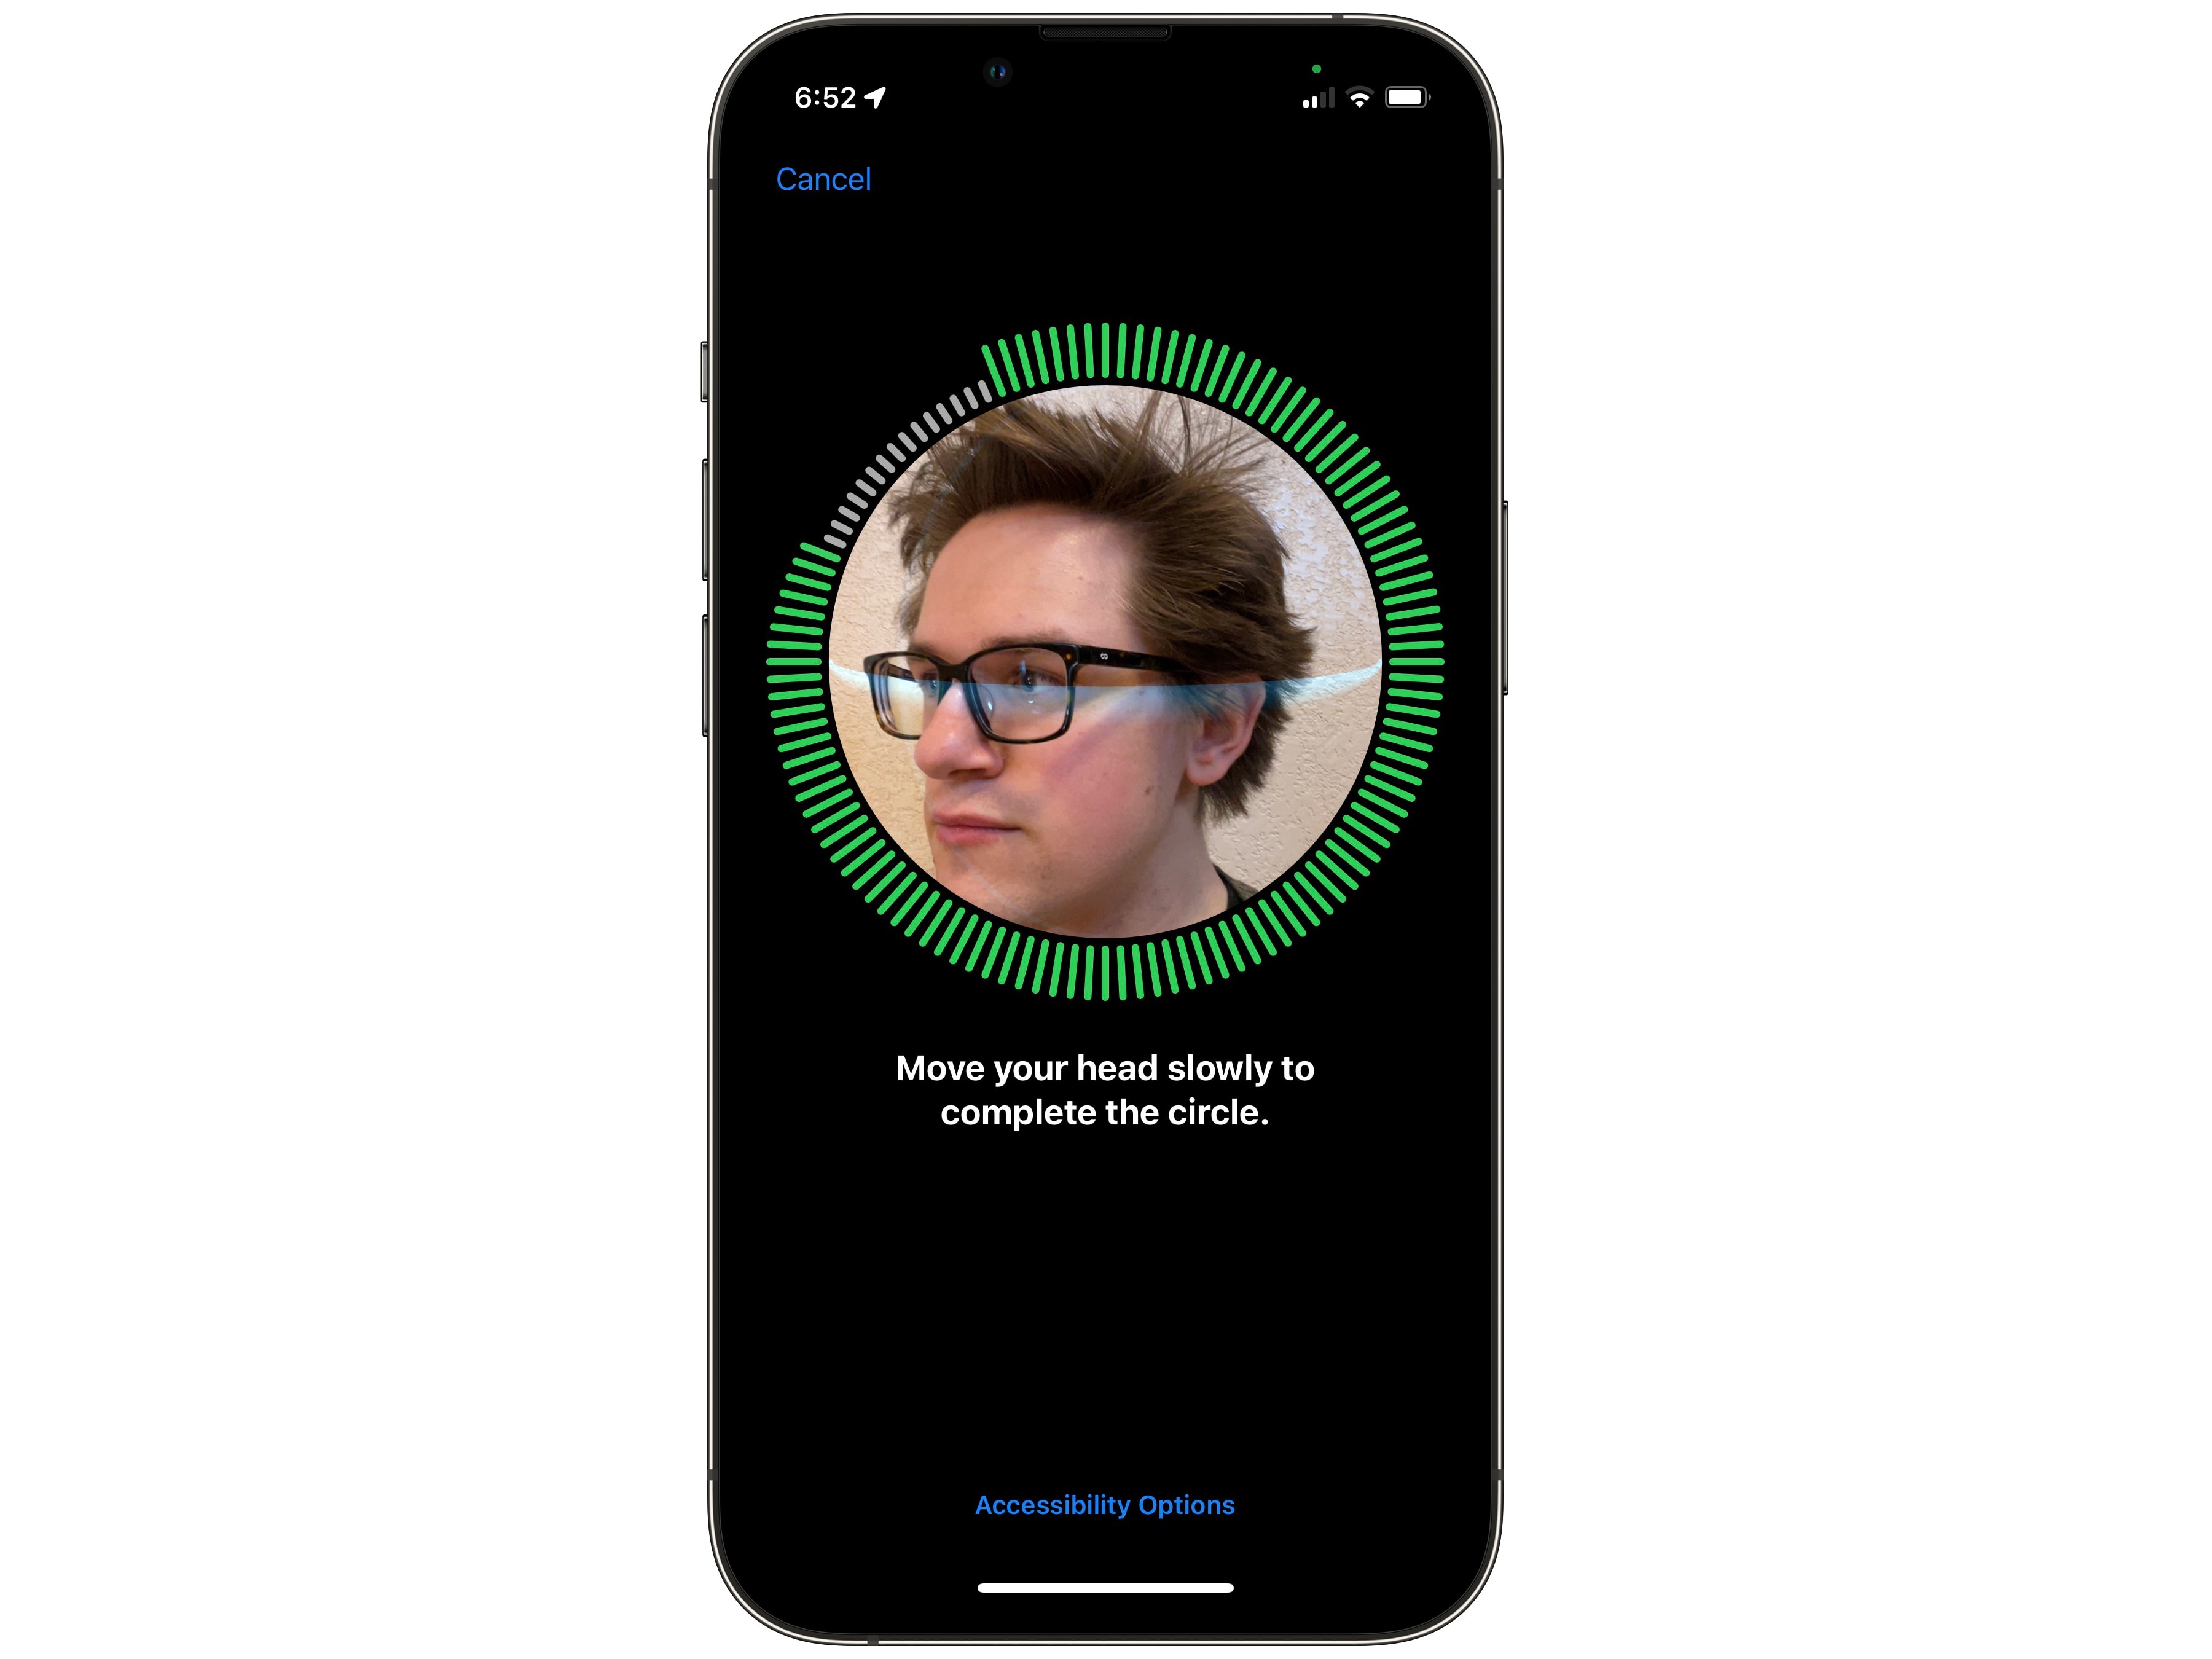
Face ID, Apple’s easy-to-use facial-recognition security feature, becomes better every year. Newer iPhones can check your face with a mask on or with the phone sitting horizontally. So you definitely want to set up Face ID on your new iPhone. To do so, point the camera at your head and look around in a circle, as if you’re watching your best friend ride on a Ferris wheel all the way around.

Photo: D. Griffin Jones/Cult of Mac
If you put on sunglasses in the summer, or you wear a mask often, you can have your iPhone scan your face a second time. This time, it’ll capture more detail around your eyes so it can match your face just by the top half. Go through the same process again — it only takes a few moments.
Transfer your apps and data to your new iPhone
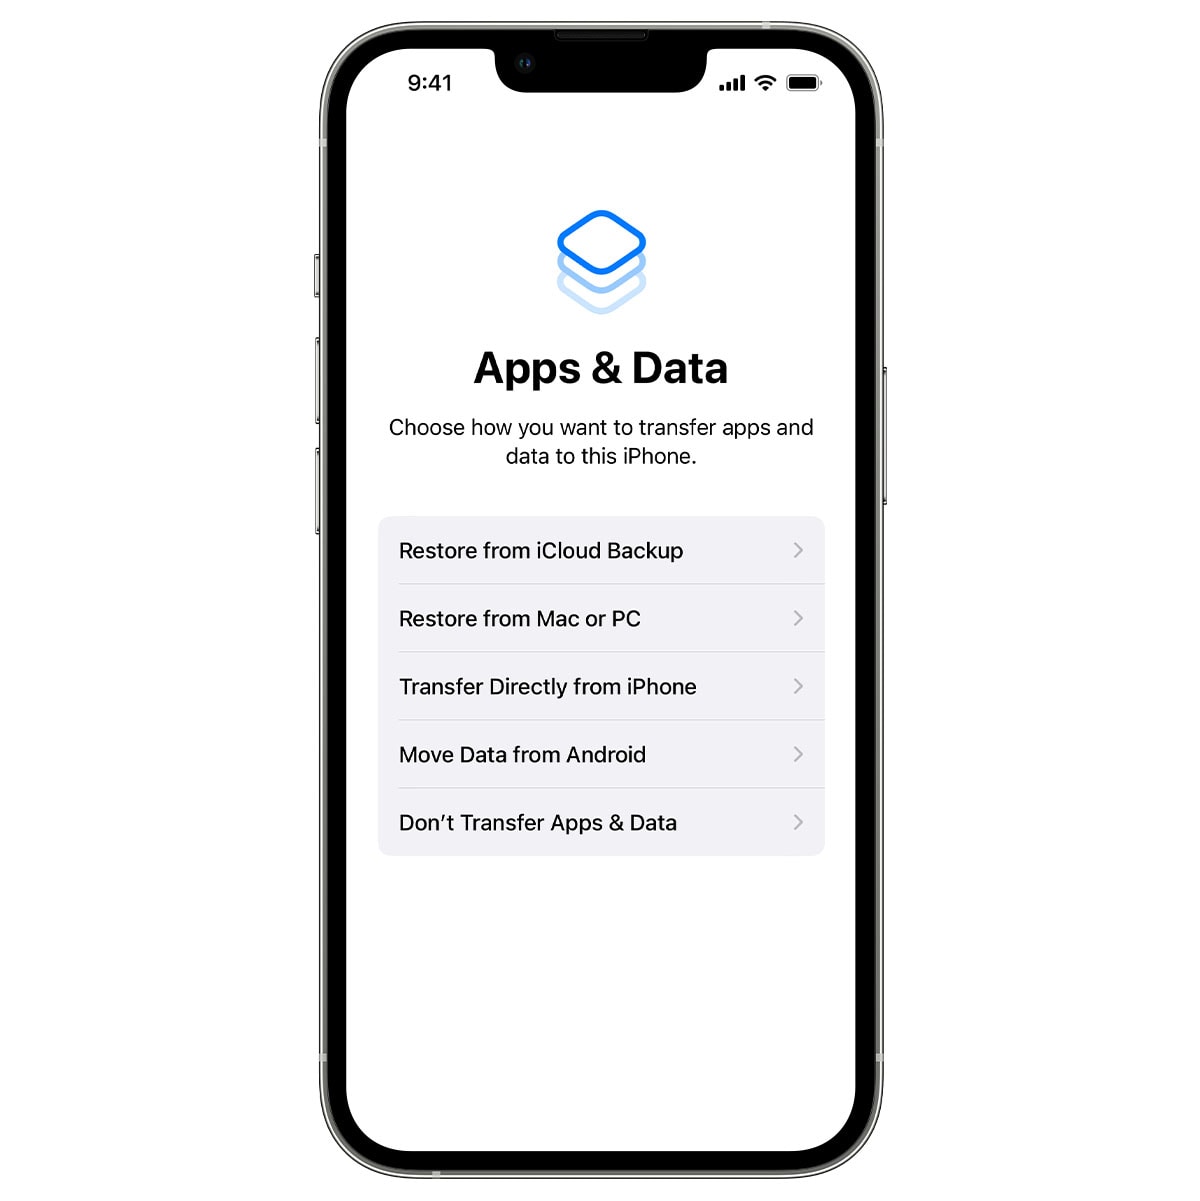
You have a few different choices for how to move your stuff over. If this is your first smartphone, just tap Don’t Transfer Apps & Data and tap here to skip ahead in this tutorial.

Image: Apple
Transfer data directly from your old iPhone
This is hands-down the easiest way to move from an old iPhone to a new one. All you have to do is keep your old and new devices close to each other. All of your apps, photos and data will be beamed from your old phone to your new phone. It works just like AirDrop.
You’ll have to sit and wait while your data moves over. But it shouldn’t take too long — I transferred a friend’s iPhone X to an iPhone 14 Pro while at dinner in a restaurant, and their new phone was ready to go before we got the bill.
If you want it to go even faster, here’s a pro tip: plug the phones together using a cable. It’ll use the wired connection for higher transfer speeds. Look around for a Lightning-to-USB-C or USB-C-to-USB-C cable.
Move data from an Android device
If you’re coming from an Android phone, download Move to iOS from Google Play. On your iPhone, tap Move Data from Android, tap Continue, and wait for the code to appear. Enter this code on your Android phone (once you open the app).
Your iPhone “will create a temporary Wi-Fi network” that your Android phone needs to connect to. Once your two phones are connected, select the data you want to import and tap Continue.
Your phone will copy over “contacts, message history, camera photos and videos, photo albums, files and folders, accessibility settings, display settings, web bookmarks, mail accounts, WhatsApp messages and media, and calendars.” Your iPhone will automatically install any free apps that are available on both Android and iOS.
If you need help, check the page on Apple Support.
Restore from iCloud Backup
If your old phone has been lost, stolen, shattered, exploded or is otherwise no longer of this world, you can tap Restore from iCloud Backup. This option will also set up your new phone exactly as your old phone, but you’ll need a reliable internet connection to download everything.
Pick the latest backup you have and wait. Your phone will download all the essential data to restore it and continue with you new iPhone setup. After you finish, stay connected — the iPhone will continue to download apps, messages and photos in the background.
Sign in with your Apple Account
The next step in setting up your new iPhone is signing in with your Apple Account (formerly known as Apple ID). This will enable all the essential Apple services. Tap Forgot password or don’t have an account? if you’re not sure if you have one.
Your new iPhone will ask you to turn on iMessage and FaceTime — make sure you do that. Turn on Location Services so you can get local weather and location-tagged photos. You don’t have to enable sending analytics to Apple.
If you want to use Siri, don’t skip setting up Hey Siri. I also recommend using Apple Pay if you have your cards handy — but you can always add these later in the Wallet app. Definitely turn on iCloud Keychain, the built-in secure password manager that syncs across all your devices.
You can turn on Screen Time if you want to be more mindful of how much time you spend on your phone.
If you struggle with reading small text, I recommend turning on Display Zoom to scale up everything on your iPhone’s screen.
Setting up a new iPhone from scratch
If this is your first iPhone, you might want some more guidance on getting comfortable after you’re all set up. Take a look at our post on setting up your new iPhone from scratch, which will walk you through the most important settings and tweaks.
Note: D. Griffin Jones contributed to this article. We originally published this article on how to set up your new iPhone on September 20, 2019. We updated the information.