Viral clips on TikTok show how to edit selfies for a more stunning, popping image on your iPhone. I live in a part of Ohio that’s perpetually overcast, but you would think I’m on my way to the beach, given the warm hues this method imparts upon your pictures.
Read on for detailed instructions on how to use TikTok’s winning selfie formula and how to apply the same filters in bulk on all the pictures from a photo shoot. Plus, I’ll tell you about my recommended selfie stick for taking great group shots and landscapes.
This post contains affiliate links. Cult of Mac may earn a commission when you use our links to buy items.
How to use TikTok’s formula to edit selfies on iPhone

Screenshot: D. Griffin Jones/Cult of Mac
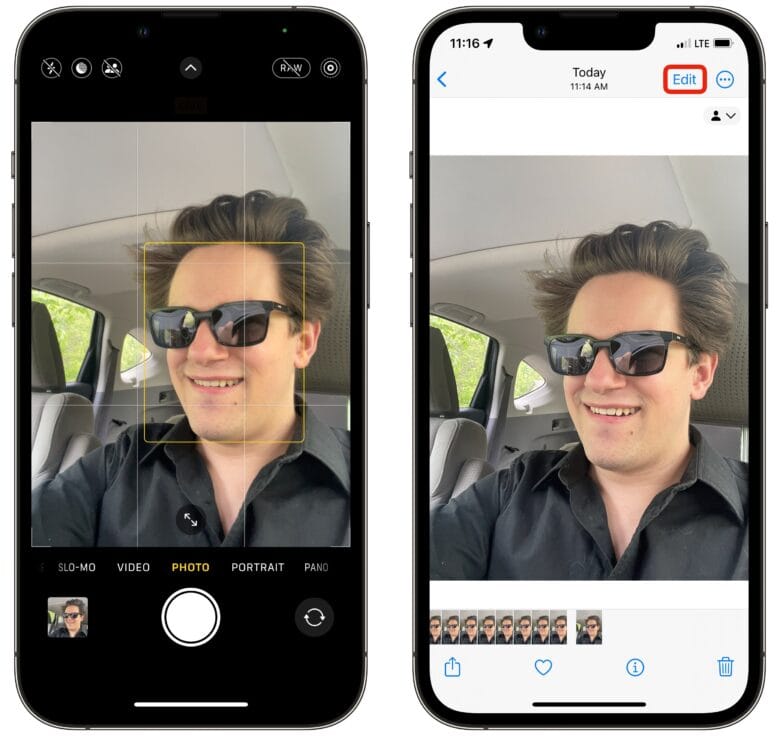
Obviously, the first thing you need to do for this tip on editing selfies is … take a selfie. I live in the middle of a beautiful, picturesque forest in Appalachian Ohio. But from what I can tell, TikToks are often recorded inside a car. So I sat inside my wife’s Honda.
After you take one or two dozen selfies and find the one you’re the least dissatisfied with, hit the Edit button in the top right corner.

Screenshot: D. Griffin Jones/Cult of Mac
You’ll see a row of circular tools above a slider that give you everything you need to effectively edit your selfies for a TikTok-ready look. You need to tap on each tool and make the following adjustments:
- Exposure and Brilliance: Skip
- Highlights: −32
- Shadows: −26
- Contrast: −30
- Brightness: −15
- Black Point: 10
- Saturation: 10
- Vibrance: 8
- Warmth: 10
- Tint: 29
- Sharpness: 14
- Definition: 23
All of these effects, in total, will make any picture look like it was taken at sunset. The colors pop with a warmer tone, and the overall brightness and highlights are significantly reduced. Editing selfies to boost their sharpness and definition can make pictures snapped with the iPhone’s front-facing camera look as clean as ones taken with the larger rear camera.
Copy and paste the effect on all your selfies
You might want to apply this filter to all your selfies. But that’s a lot of tedious work, right? Wrong.

Screenshot: D. Griffin Jones/Cult of Mac
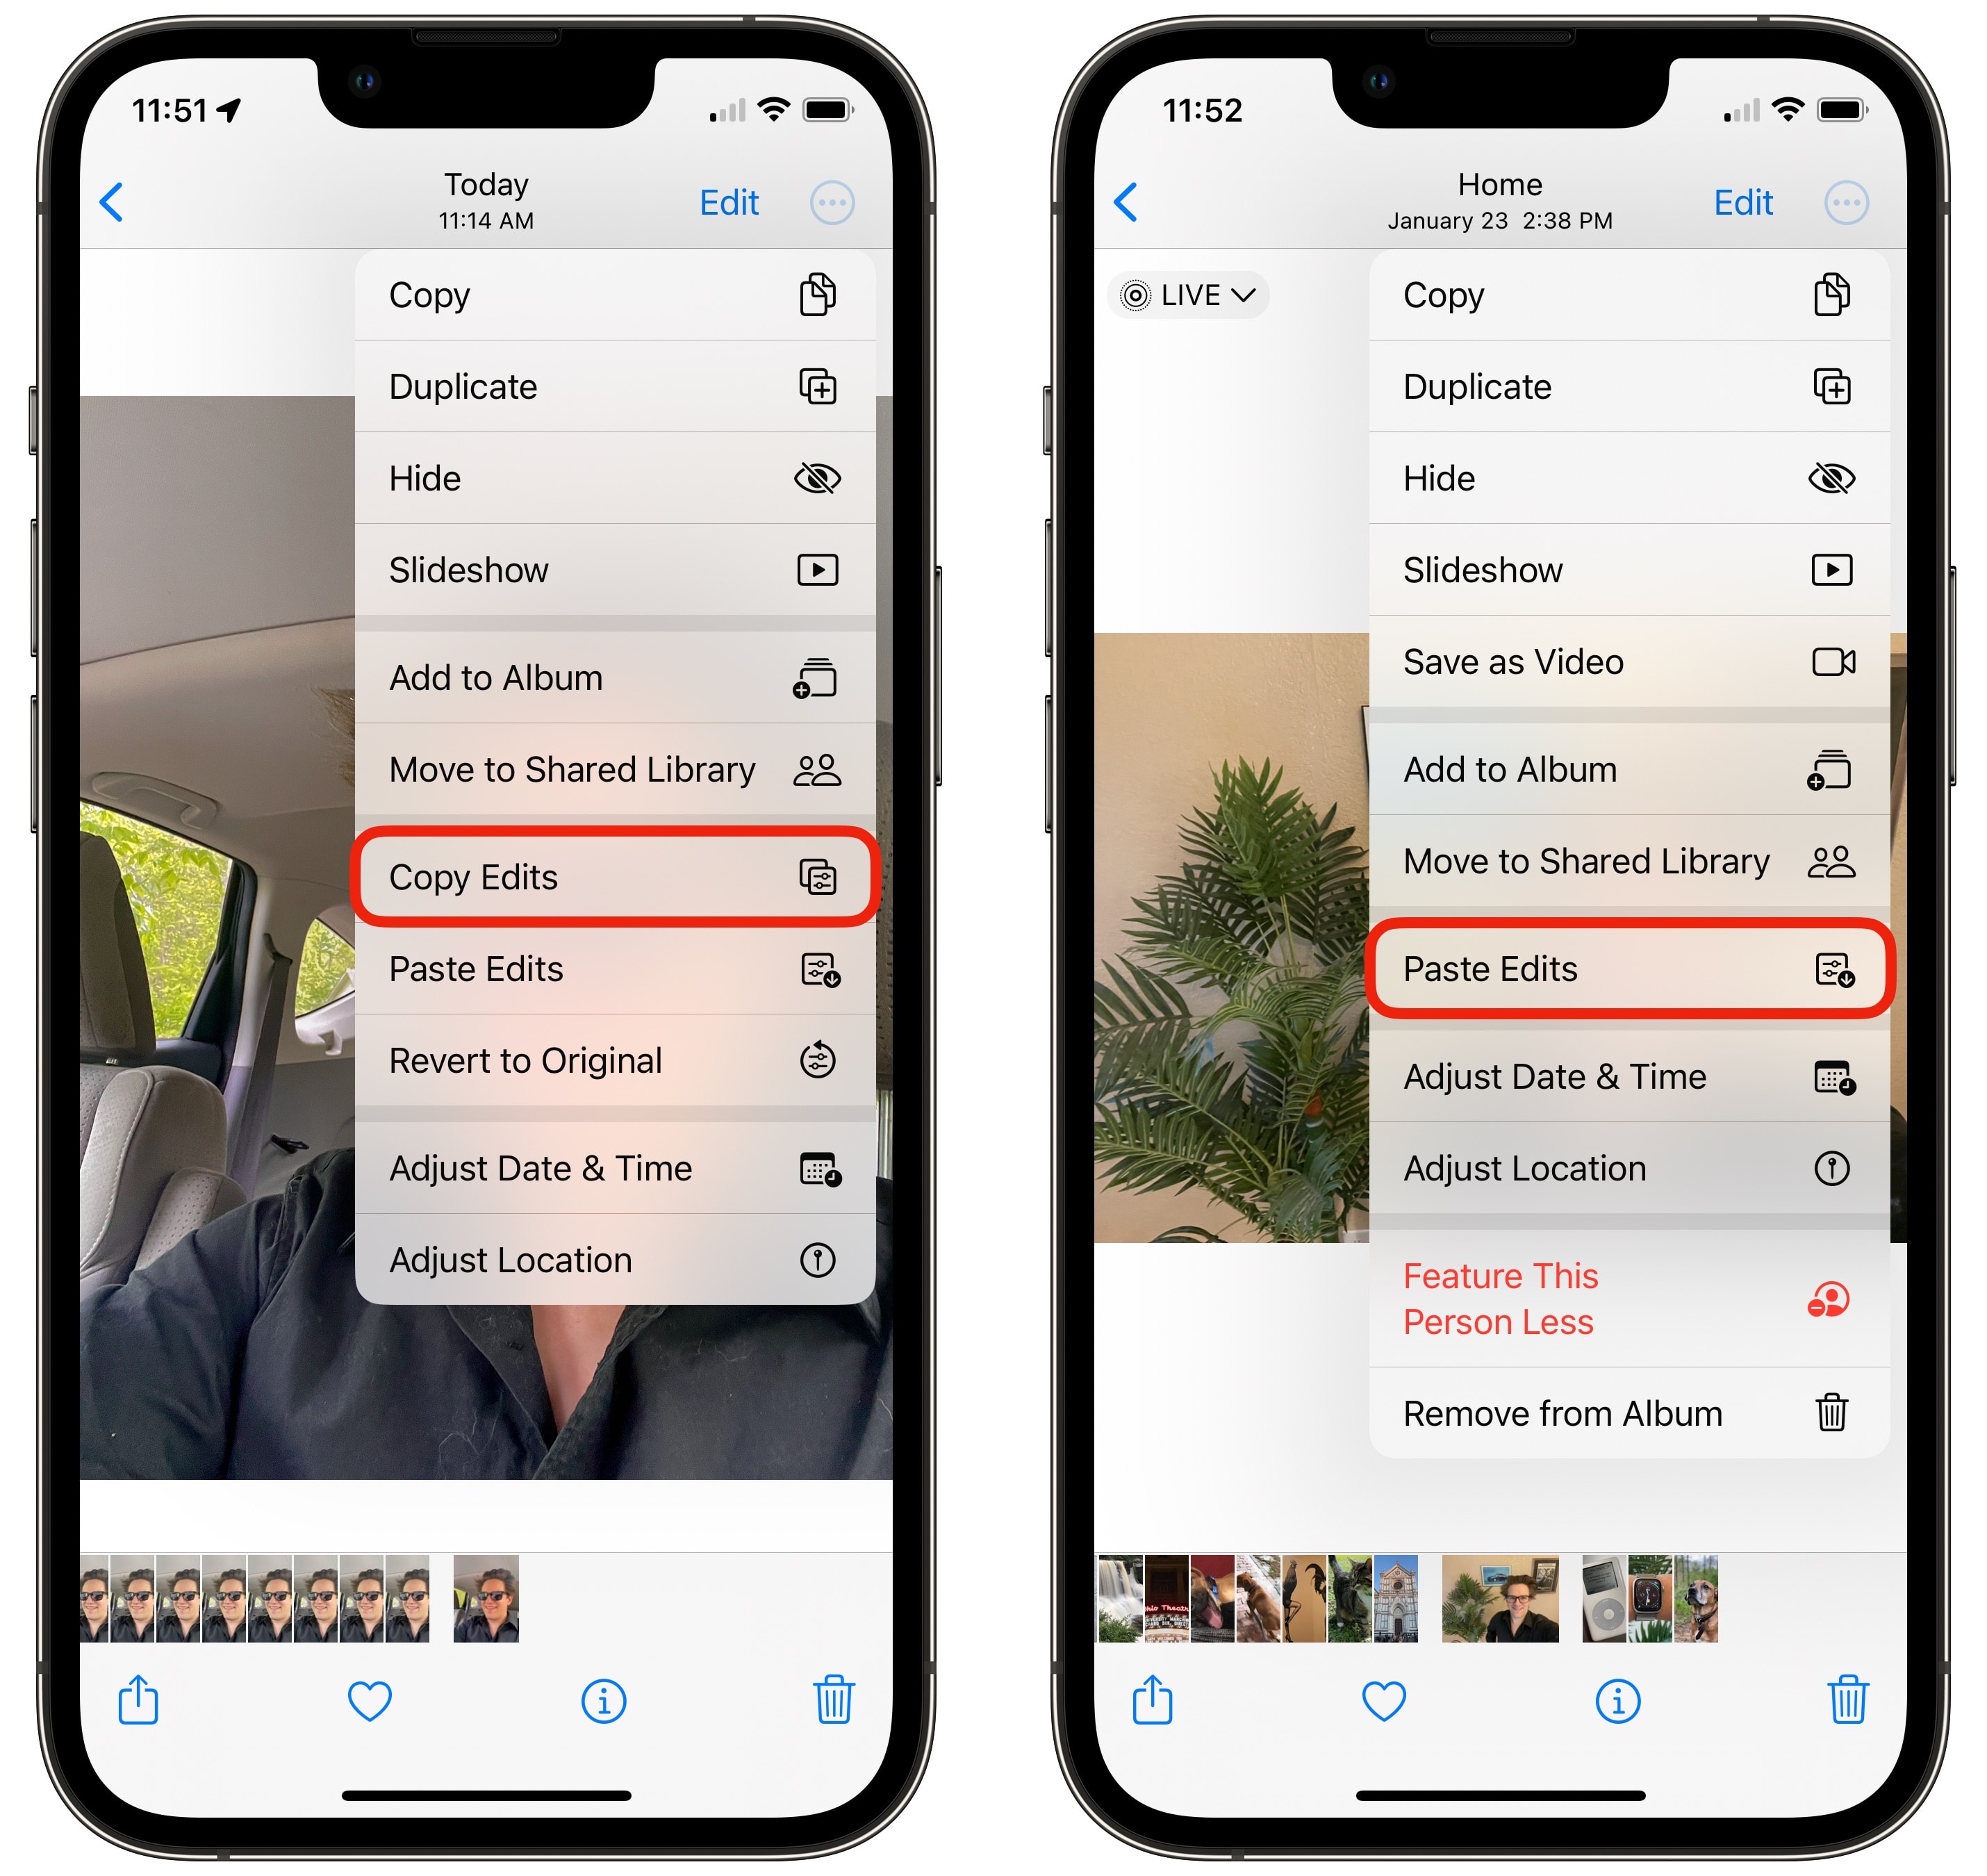
After you finish editing your selfie, hit the three dots menu (⋯) in the top right corner and tap Copy Edits. Then, you can scroll over to another picture in your library, hit the same button and tap Paste Edits. Or, from the photo library, you can swipe with two fingers to select a range of photos and tap Paste Edits. This will apply your TikTok selfie editing settings to all the selected images.
Up your selfie stick game

Photo: D. Griffin Jones/Cult of Mac
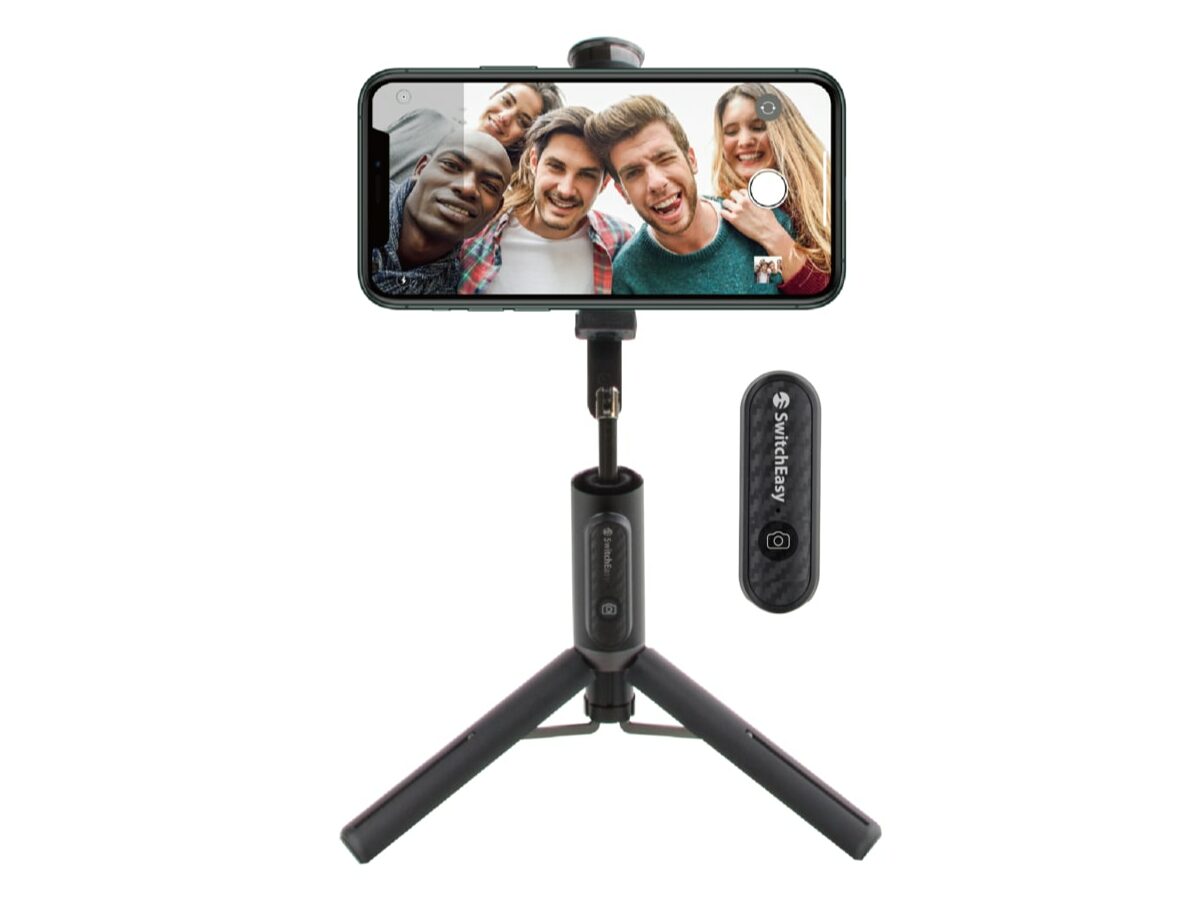
Aside from TikTok-style editing, how else can you take your selfies to the next level? I recently reviewed the SwitchEasy EasySelfie, an incredibly well-designed combination selfie stick/tripod/camera remote.
You can read my review here or tap the button below to check it out on the Cult of Mac Store:
SwitchEasy EasySelfie
- Handy selfie stick with far reach
- Built-in tripod
- Bluetooth camera remote
- Standard accessory mount
- Excellent build quality
Buy now: Cult of Mac Store
On sale!
SwitchEasy EasySelfie Selfie Stick
EasySelfie is cleverly designed and really well-made, and makes for a great mount for using Continuity Camera, among other things. If you’re looking for a portable and versatile way to mount your camera for all kinds of different things, the EasySelfie has you covered.
• Built-in Tripod
• Telescoping selfie stick
• Standard accessory mount
• Bluetooth remote control
We earn a commission if you make a purchase, at no additional cost to you.
We originally published this post on editing selfies on May 15, 2023. We updated the information.
