In today’s diverse classrooms, it’s important to implement strategies designed to support multilingual learners (MLLs), also referred to as English language learners (ELLs), in the general education classroom. When considering instructional strategies to use throughout the day, choose the ones that engage students and leverage their strengths. Using a combination of whole-group, small-group, and 1:1 strategies to support MLL students creates a language-rich environment that encourages continued growth and builds an inclusive learning environment. This allows your MLLs to feel supported and confident in the classroom.
Whole-Group Strategies
To support MLLs in groups, it’s best to use simple strategies you can weave into the instructional strategies you’re already using in the classroom. These strategies shouldn’t be seen as “in addition to” or “in place of” what you’re already doing. The whole-group strategies below are simple yet effective ways to further engage all students in language instruction without requiring extensive planning time.
Visual Aids

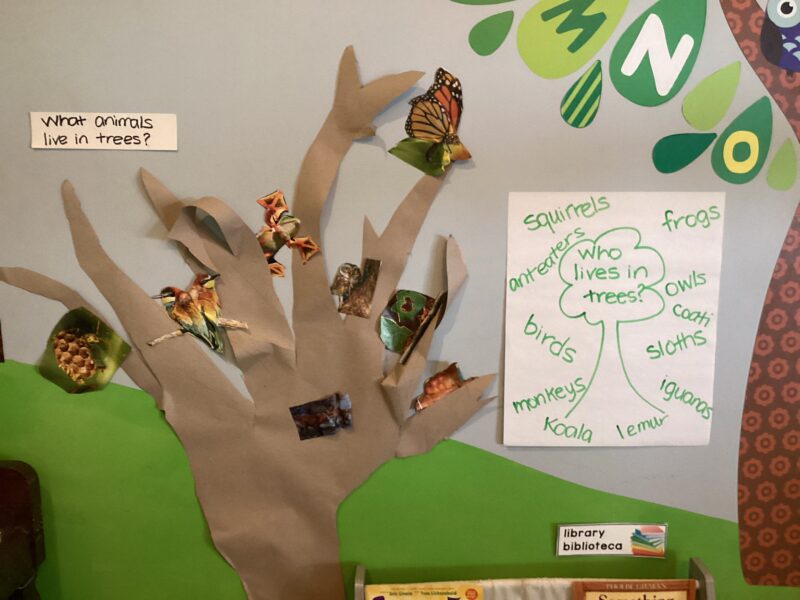
Visual aids, such as photographs, sketches, icons, data, artwork, and videos, are a simple way to make content easier for MLLs to understand. They help MLLs make connections between the English language and their native language. The wide range of ways that visual aids can be used helps ensure that your instruction doesn’t become too predictable or too boring for students while still providing them with engaging ways to learn and connect with content and language instruction.
While you’re teaching each unit, keep your visuals posted around the room during your instructional unit so students can continue to reference and connect with the visual content. This provides students with a way to continue to reference language and access meaning without having to memorize everything in one single lesson.
Use pictures to represent content, such as nouns, verbs, prepositions, etc.
Example: The word “colony” has different meanings depending on the context, and it might be a challenging word for your MLLs. If you’re teaching about colonies in social studies, a visual representation of the colonies or what a colony looks like allows your students to connect the word and meaning with their native language and further develop their comprehension of the content and language.
Transform timeline-based text into a visual timeline
Example: If you’re reading a complex text that contains dates, use sticky notes and have students write the most important events on individual sticky notes. Alternatively, you could pre-print the important dates and events onto sticky notes for your MLLs. Then, as you read, build out the visual timeline on your wall by adding the notes to the timeline as you learn about each date/event. In the end, your students will be able to see what happened in a visual manner and build stronger connections with the text. Bonus: Have your students add a sketch that goes along with each event/date for students who have limited language proficiency or who struggle with reading.
Try it: Creative Timeline Activities
Create visual dictionaries
Example: Before reading a content-based text, select the words that will be the most challenging for your MLLs. These could be content-based words like “amphibian,” or words that signify the text structure, like “in contrast.” For each of the words, create a large poster where the words are recorded as they’re encountered in the text. Then, have the students add a sketch that represents the meaning of that word. Bonus: Have your students who are bilingual add the equivalent word to the poster in their home language.
Represent complex language with images
Example: If you’re reading about complex comparisons, such as metaphors, create a literal image and a figurative image. The literal image is used to show what the text literally says and helps clue your MLLs into the fact that the literal meaning of the word is silly and doesn’t make sense on its own. The next image should show what is actually meant by the language to help your student understand the context and the meaning of more complex language. For example, if the text says, “The boy had a heart of gold,” the literal image could be a boy with a big gold heart on his chest, and the figurative image could be a boy helping a girl who fell down.
Bring real-world items, such as artifacts, brochures, and weather reports, to represent content
Example: If you’re teaching a unit on Native Americans, work with your local cultural center to borrow artifacts that will be discussed during readings and other assignments. Allowing your students to see these items in person and touch them in real life will help them connect more deeply with the content and the language.
Simplified Language

When speaking with MLLs and reviewing texts for use with your students, it’s important to review the complexity of the text structure. There are a few ways that you can work with complex texts to make them more comprehensible for language learners. One strategy is to simplify the language.
If the text is too complex, try to avoid oversimplifying the language for students. There’s a fine balance between reducing the linguistic demand of a text and taking away the student’s need to learn academic vocabulary to understand the text. You want your students to learn the academic vocabulary and content. However, you want to do it in a way that makes sense to them as English language learners.
When simplifying language, avoid using complex sentences, embedded clauses, complex comparisons, and unnecessarily complex vocabulary.
Retain key vocabulary
Example: If you’re teaching a unit on photosynthesis, you want to retain the content-specific vocabulary words. However, you can rewrite language that your students will read by breaking apart long, complex sentences into shorter, easier-to-understand sentences.
You might simplify “Photosynthesis is the intricate biochemical process by which green plants and certain organisms convert carbon dioxide and water into glucose and oxygen, utilizing sunlight as an energy source to drive the transformation of inorganic substances into essential organic compounds” to say “Photosynthesis is how green plants make their food. They take in carbon dioxide from the air and water from the ground. Using sunlight, they change these into sugar and oxygen. This process helps plants grow and gives us fresh air to breathe.”
The second example is much easier to read and understand. Plus, the shorter sentences give you the opportunity to pause more frequently and check for understanding.
Try it: Free Vocabulary Worksheet To Use With Any Word List
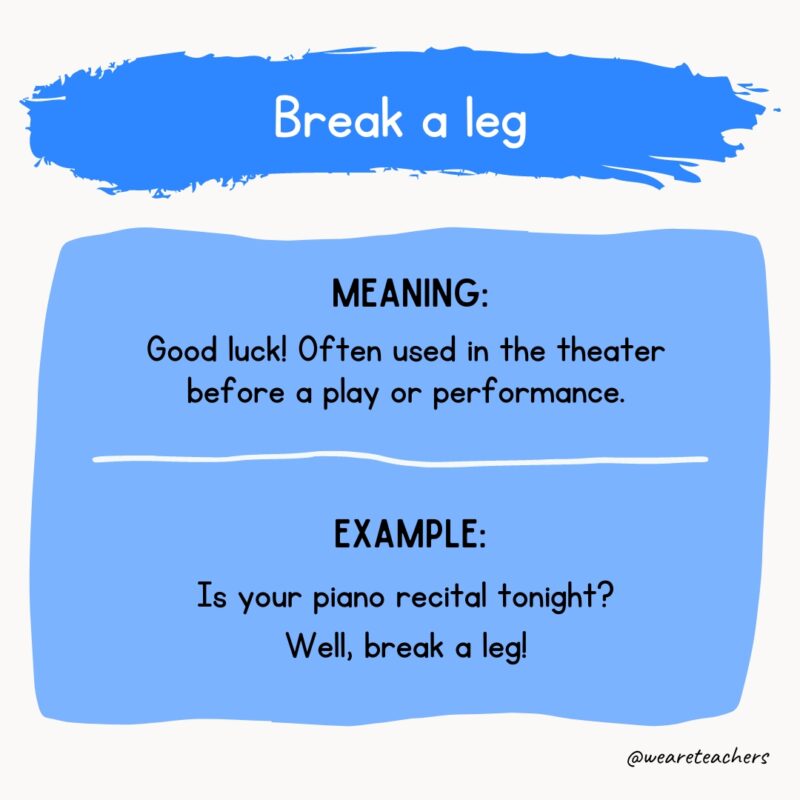
Avoid idioms, metaphors, and similes unless previously taught
Example: You might encounter language in a text that uses figurative language to explain a concept. In the following example, natural disasters and the Earth are given human qualities to explain what a natural disaster feels like:
“Natural disasters are nature’s way of shaking the Earth awake. Just as a person might move around to stretch after sitting for a long time, the Earth sometimes rumbles and rolls to move energy or to make room for new growth. When this happens, it can bring storms, earthquakes, or floods, reminding us of the power and change that nature can create.”
While this seems like a great explanation initially, your MLLs might not understand what is being explained. The content can either be rewritten to remove the use of figurative language, or you could use a visual demonstration of what the text is saying to show the students the actual meaning of the text.
Learn more: Idiom Examples, Metaphor Examples, and Simile Examples
Slow down your rate of speech, and increase it as proficiency increases
Example: During a lesson about ecosystems, you can slow your rate of speech by clearly enunciating the word “ecosystems” and then repeating the word “ecosystems” with a visual representation of both of the word parts. This provides a visual aid to support the students’ comprehension, uses a slower rate of speech, and allows the teacher to include repetition of the word as well.
Learn more: Language Proficiency Levels: A Guide for School Curriculum
Sentence Frames and Sentence Stems

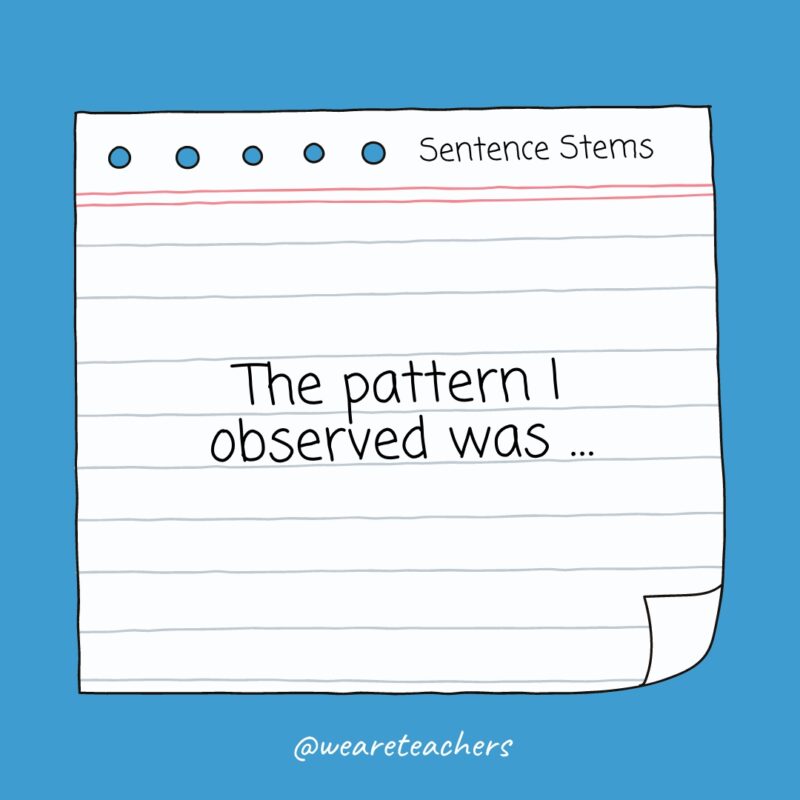
Sentence frames and sentence stems reduce the linguistic demand on MLLs while allowing them to continue to focus on the concepts being taught. It’s important to note that students are still required to practice and produce language independently while implementing this strategy.
This strategy also provides opportunities for your students to feel more confident and less anxious when participating in lessons and using academic language with their peers. Sentence frames provide the overall structure of the sentence, and the students fill in just one or two blanks on their own. Sentence stems are sentence starters that students use, and then they complete the rest of the sentence on their own. As your students’ language proficiency increases, the use of sentence frames and sentence stems should be scaled back to allow them to continue to develop as language learners. For example:
- “I think that _____ because _____.”
- “The main idea of the story is _____.”
- “One example from the text is _____.”
- “First, _______. Then, _______. Finally, _______.”
- “I think the character feels _______, because _______.”
- “I solved the problem by _______.”
- “The main idea of _______ is _______.”
- “My first step in solving the problem was _______.”
- “_______ and _______ are similar because _______.”
- “_______ and _______ are different because _______.”
- “If _______, then _______.”
- “I agree with _______ because _______.”
- “I disagree with _______ because _______.”
Here are some additional sentence starters you can try.
Small-Group Strategies
Small-group instruction allows for more personalized support and targeted language development based on the student’s level of language proficiency. This is a great opportunity to focus on phonics, reading fluency, vocabulary, and reading comprehension. Each lesson should be focused on the specific skills that need to be learned or further developed by the students in that group and taught through explicit, direct instruction.
Here are some strategies to implement when working with MLLs in small groups.
Collaborative Learning
Collaborative learning capitalizes on the social aspect of learning and allows your students to learn alongside their peers. Using this strategy in intentionally formed small groups will provide MLLs with a setting that is more comfortable, allowing them to participate more openly without the fear of being judged for saying something incorrectly in front of the whole class.
Collaborative learning can take place in many different formats. You can pair students together by ability or language proficiency to complete an assignment. For example, a more advanced peer explains things to a student in their native language. Or pull together a small group of students who work together to construct a visual diagram of a plant cell, sharing language and developing the understanding of the entire group along the way.
These are just a few ideas for collaborative learning and it is not, by any means, an exhaustive list:
Shared Writing
Provide a sentence starter and allow each student in the group to add to the writing. Then, enable the students to edit and revise a piece of the writing.
Example: If you’re teaching a unit on opinion writing, you may provide a sentence starter that includes the topic of the paragraph. The group would then work together to include reasons that support the opinion and explanations that further develop each reason. You may have one student provide a transition word while the next student finishes the sentence with a reason. Then, the next student would need to provide the explanation for what was said in the previous sentence while the student after them is responsible for checking and adding all punctuation that the sentence requires.
If you want to make the work more complex, you can include non-examples for the students, and they will have to distinguish between elements that do and do not work for the collaborative assignment. This is a great way to get students to explain their thinking and defend their ideas in small groups.
Jigsaw
Assign each student one part of the material to read and review. Then, each student presents their information to the rest of the group.
Example: If you’re teaching a unit on ocean ecosystems, you can differentiate the content based on the expert group. If you’re having MLLs work together to become experts on food chains, then you may provide them with materials that include enhanced visuals, simplified text, and even video content. Another strategy would be to pre-teach the concept of ocean food webs in a small group before the larger group lesson so the students have additional background knowledge. Then, during the larger lesson on ocean ecosystems, your MLLs will use the material they’ve studied to present their learning with other groups or the whole class.
If your students are reluctant to speak to the whole class, consider using the sentence frames and sentence stems strategy (see above) to help them prepare for their presentation. Speaking is an important skill for our MLLs, and we want to avoid letting them opt out of this, instead preparing them strategically for these scenarios.
Round Robin
Provide the group with a topic and have each student take a turn adding to the topic, connecting with the topic, and responding.
Example: If you’re teaching a lesson on adaptations of animals in certain environments, you could start with the overall broad topic of “desert adaptations.” Then, the next student would add on to that idea. Ideally, you would provide a sentence starter or a sentence frame to support the student with speaking in a complete sentence when they provide their response. The next student might say, “An adaptation of the camel is their humps, which store fat for energy.” Then, the next student might say, “The fat stored in their humps allows them to have energy when there is little food around.” The next student might continue by sharing more information about why the food might be scarce, or they could share information on a different adaptation that they know about.
This strategy allows students to utilize their background knowledge, be an expert on the learning, and support their peers with developing their understanding of the content being taught.
Self-Created Problems
Allow students to pair up and create problems for the other person to solve. This gives students practice with concepts while also providing ownership of their learning.
Example: If you’re teaching a math unit on multiplication, you can pair up two students. One student will write the math problem and solve it, while keeping the answer a secret. Then, they will pass the question to the next student and the other student will solve it. When the student has finished solving the problem, they will compare their work, answers, and strategies.
This is another great opportunity to use sentence stems and sentence frames to help students discuss their strategies and thinking.
Focused Language Practice

When teaching focused language lessons in small groups to support MLLs, keep your lesson short. You only need about 15 minutes to teach a single focused strategy. Your lessons should be focused on the specific needs of your students based on their language proficiency level.
For example, students at a more advanced level of proficiency might be learning more complex word parts to determine meaning, while students at a lower level of language proficiency might be working on correct verb tense or phonemic awareness.
Ultimately, this strategy relies on knowing what your students need and then grouping them effectively to address these needs. This can be done through quick formative assessments, by listening to the students speak and share in small groups, through summative assessments, or through more-standardized testing.
Here are skills you might work on with your students in small groups:
- Frontload content-specific vocabulary
- Determine meaning with context clues
- Read simplified texts to understand challenging science or social studies concepts
- Determine the meaning of a text using graphic organizers
- Respond to text or peers using sentence frames or sentence stems
- Note-taking
- Phonics
- Reading fluency
- Figurative language
- Sight words
- Activate background knowledge
- Preview text
- Categorize text
Individual Support Strategies
Individualized instruction is crucial for addressing the unique needs of each MLL. First, this strategy allows you to focus on exactly what that specific student needs. This also allows you to work with the student in a setting that is more comfortable, reducing the student’s stress and anxiety. Additionally, this will allow you to provide instant feedback and targeted support based on their responses in the moment. Timely feedback is incredibly beneficial for student growth, comprehension, and retention.
Here are some ways to provide effective individual support to MLLs:
One-on-One Conferences
One-on-one conferences are a great way to support your MLLs. They provide you with the opportunity to learn more about your students’ backgrounds, interests, and strengths. Plus they provide the opportunity to engage your students in a discussion about their personal goals and progress.
Here are a few activities that work well with 1:1 conferences:
- Reading fluency practice
- Progress monitoring
- Goal-setting
- Goal tracking
- Writing conferences
- Determining whether performance is due to anxiety/shyness or due to language proficiency
Writing Journals

There are many benefits to journaling. Writing journals can be a safe space for students to practice their language skills and reflect on their learning. Plus, this strategy taps into the student’s background knowledge, cultural knowledge, and lived experiences. When using journals, it’s OK to let students communicate some ideas in their native language or through visuals/drawings. The goal is to support your MLLs by encouraging them to share their learning and thoughts in a low-stress way while continuing to develop their content knowledge and language proficiency.
Science
Have your students journal about what they’ve learned during their science lesson at the end. Respond to the student’s learning before the next lesson. This will help form a deeper connection with the student and give you valuable insight into their language development.
Reading
Students can connect with literature by connecting to the characters, lessons, and main ideas in texts. They can also explore texts more deeply by making predictions, reflecting on actions, and questioning the text.
Writing
Provide your student with short daily or weekly writing prompts. This allows them to practice writing and using the English language in a non-threatening, low-risk way.
You can enhance the use of writing journals in the classroom with these tips:
- Provide a set amount of time that students should spend writing each day/session.
- Allow students to provide feedback to one another, or provide feedback to students yourself.
- Reduce writing anxiety by telling students that their spelling, grammar, and syntax are not being evaluated in their journals.
- Provide students with word walls, sight words, or other tools to help them write and spell more successfully and with less stress.
Try it: Check out all of our writing prompts.
Technology Use
Incorporating technology tools such as language-learning apps, online dictionaries, and speech-to-text software is a great way to support language development in a targeted way and encourage individualized progress.
Here are a few ways to use technology to support MLLs:
- Access virtual field trips to make content more meaningful and easier to understand.
- Utilize online read-alouds with students who are not yet reading proficiently or who need more opportunities to hear text read aloud.
- Use commenting and collaboration features in Google Apps to allow students to read, write, and respond to their peers.
- Use language-learning websites (e.g., Duolingo) aligned with students proficiency levels.
- Provide students with the opportunity to use speech-to-text and text-to-speech tools.
- Use Google Translate to support students in understanding text in their non-native language.
- Play interactive games that allow students to receive instant feedback and engage with content in a fun, low-stress way.
Thoughtful planning and varied instructional strategies are needed to support MLLs. By incorporating visual aids, sentence frames, and interactive activities in whole-group settings, providing tailored instruction in small groups, and offering individualized support, educators can create an inclusive and effective learning environment for all students.